
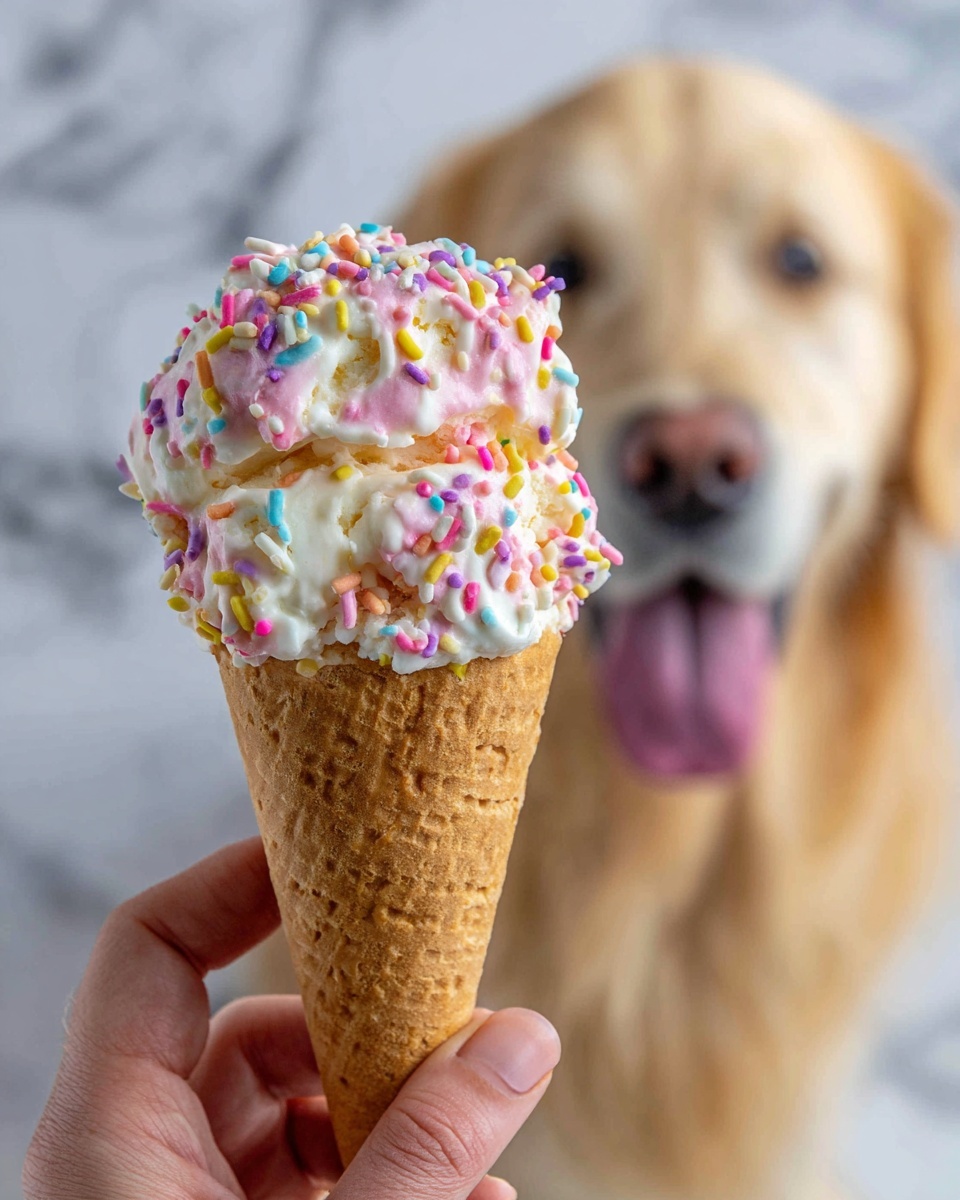
If you love spoiling your furry best friend and want to make something special that’s both healthy and refreshing, this DIY Doggy Ice Cream Recipe is an absolute game changer. Crafted with simple, wholesome ingredients like bananas, creamy peanut butter, and tangy Greek yogurt, this frozen treat offers a perfect balance of taste and nutrition that dogs adore. Whether you’re looking to cool down your pup on a sizzling day or give them a delightful reward, this homemade ice cream is easy to whip up and guaranteed to bring joyful tail wags.
Ingredients You’ll Need
The magic behind this DIY Doggy Ice Cream Recipe lies in its handful of pure, dog-safe ingredients. Each one plays a unique role: bananas bring natural sweetness and creaminess, Greek yogurt offers a cool tang and probiotics, and peanut butter adds rich flavor and healthy fats. A touch of honey can boost the sweetness without overdoing it, and a splash of water or unsweetened almond milk helps achieve the perfect texture for blending.
- 2 ripe bananas: Naturally sweet and packed with vitamins, bananas provide the creamy base for your cool treat.
- 1 cup plain unsweetened Greek yogurt: Adds a smooth texture and is gentle on your dog’s tummy with probiotic benefits.
- 1/2 cup natural creamy peanut butter (no xylitol): Offers a nutty flavor dogs love, plus healthy fats for energy; always check the label to ensure it’s xylitol-free.
- 1 tablespoon honey (optional): A natural sweetener that enhances flavor, used sparingly for a hint of extra sweetness.
- Splash of water or unsweetened almond milk: Helps blend the ingredients smoothly without adding sugars or dairy.
How to Make DIY Doggy Ice Cream Recipe
Step 1: Prepare Your Ingredients
Start by peeling your ripe bananas and slicing them into easy-to-blend pieces. Having all your ingredients ready makes the blending process smooth and quick—it’s all about keeping it stress-free for you and your pup.
Step 2: Blend the Mixture
Pop the banana slices, Greek yogurt, peanut butter, and honey (if using) into a blender or food processor. Blend on high until everything turns into a luscious, creamy mixture. If you find it’s too thick and tough to blend, gently add a splash of water or unsweetened almond milk to reach the perfect smooth consistency.
Step 3: Portion into Molds
Once blended, spoon the mixture evenly into silicone molds, ice cube trays, or small paper cups. These little portions make serving easy and fun—plus, pups love the novelty of ice cream “popsicles.”
Step 4: Freeze until Solid
Place your filled molds in the freezer for at least 3 hours. Patience is key here because you want these doggy delights fully frozen before serving. Once solid, pop them out to treat your pup and watch their excitement grow!
How to Serve DIY Doggy Ice Cream Recipe
Garnishes
Adding a bit of texture or extra flavor can make serving this treat even more exciting. Consider sprinkling a few blueberries or shredded carrots on top of the frozen ice cream to add color and crunch. Not only does it look enticing, but it also provides a gentle boost of nutrients.
Side Dishes
This frozen treat pairs beautifully with a handful of fresh dog-friendly fruits or veggies like apple slices or green beans. These simple sides keep your dog’s snack balanced and enjoyable, turning ice cream time into a mini feast.
Creative Ways to Present
Get creative by serving the DIY Doggy Ice Cream Recipe in fun ways: use themed silicone molds shaped like bones or paws, place the frozen bites on a dog-safe plate surrounded by fresh herbs like parsley, or even make an ice cream “pup cup” by layering with small treats. Presentation can turn an everyday treat into a memorable moment.
Make Ahead and Storage
Storing Leftovers
If you find yourself with extra batches of this yummy DIY Doggy Ice Cream Recipe, no worries! Store the leftovers in an airtight container in the freezer, making sure to keep them fresh and ready for your dog’s next indulgence.
Freezing
Because this treat is designed to be frozen, it freezes beautifully for up to one month. Proper sealing is important to prevent any freezer burn or absorption of other odors. Simply pop the frozen portions out as needed and serve straight from the freezer.
Reheating
Reheating isn’t necessary for this fun frozen treat; in fact, the chilly texture is part of the joy. If your dog prefers softer ice cream, you can let the portion sit at room temperature for a few minutes until it softens enough to scoop easily.
FAQs
Is this DIY Doggy Ice Cream Recipe safe for all dogs?
Yes, the ingredients are carefully chosen to be dog-safe, but always check with your vet before introducing new treats, especially if your pet has allergies or dietary restrictions.
Can I use flavored yogurt instead of plain Greek yogurt?
It’s best to stick to plain unsweetened Greek yogurt to avoid any added sugars or artificial sweeteners that could be harmful to dogs.
What if my dog is allergic to peanut butter?
No problem! You can substitute peanut butter with other dog-safe nut butters like almond butter, or simply omit it and add extra banana or pumpkin puree for creaminess.
How often can I give my dog this ice cream?
As a treat, once or twice a week is great, but always factor it into your dog’s overall diet to maintain balance and avoid overfeeding.
Can I add mix-ins for variety?
Absolutely! Small bits of dog-safe fruits like blueberries or apples can be mixed into the recipe before freezing to add flavor and texture your pup will love.
Final Thoughts
Making your own frozen dog treat is a wonderful way to show love and care, and this DIY Doggy Ice Cream Recipe is such a simple, healthy option that even beginners can nail. Watching your dog enjoy a homemade ice cream on a warm day is pure joy, and knowing every ingredient is safe and wholesome makes it even better. So, why not give this recipe a try and treat your furry friend to a delightful frozen snack they’ll be begging for again and again?
Print
DIY Doggy Ice Cream Recipe
- Prep Time: 10 minutes
- Cook Time: 0 minutes
- Total Time: 3 hours 10 minutes
- Yield: 12 small servings
- Category: Pet Treats
- Method: No-Cook
- Cuisine: Dog-Friendly
- Diet: Gluten Free
Description
This DIY Doggy Ice Cream is a refreshing and creamy homemade treat crafted from dog-safe ingredients like ripe bananas, natural peanut butter, and plain Greek yogurt. It’s a perfect frozen snack to cool down your furry friend on hot days or to serve as a special rewarding treat, made without any harmful additives.
Ingredients
Ingredients
- 2 ripe bananas
- 1 cup plain unsweetened Greek yogurt
- 1/2 cup natural creamy peanut butter (no xylitol)
- 1 tablespoon honey (optional)
- A splash of water or unsweetened almond milk (if needed for blending)
Instructions
- Prepare the Bananas: Peel and slice the bananas into manageable pieces for blending, which ensures smooth consistency.
- Blend Ingredients: Place the banana slices, Greek yogurt, peanut butter, and honey (if using) into a blender or food processor. Blend until the mixture turns smooth and creamy. Add a splash of water or unsweetened almond milk if the mixture is too thick to blend properly.
- Fill Molds: Spoon the blended mixture into silicone molds, ice cube trays, or small paper cups, ensuring portions are evenly distributed.
- Freeze: Place the filled molds into the freezer and freeze for at least 3 hours or until the ice cream is completely solid.
- Serve: Remove the frozen ice cream from the molds and serve one portion at a time to your dog as a delightful treat.
- Storage: Store any remaining ice cream in an airtight container in the freezer for up to one month to maintain freshness and prevent freezer burn.
Notes
- Always use peanut butter that does not contain xylitol, as it is toxic to dogs.
- For extra flavor and texture, consider mixing in shredded carrots, blueberries, or small apple chunks before freezing.

