
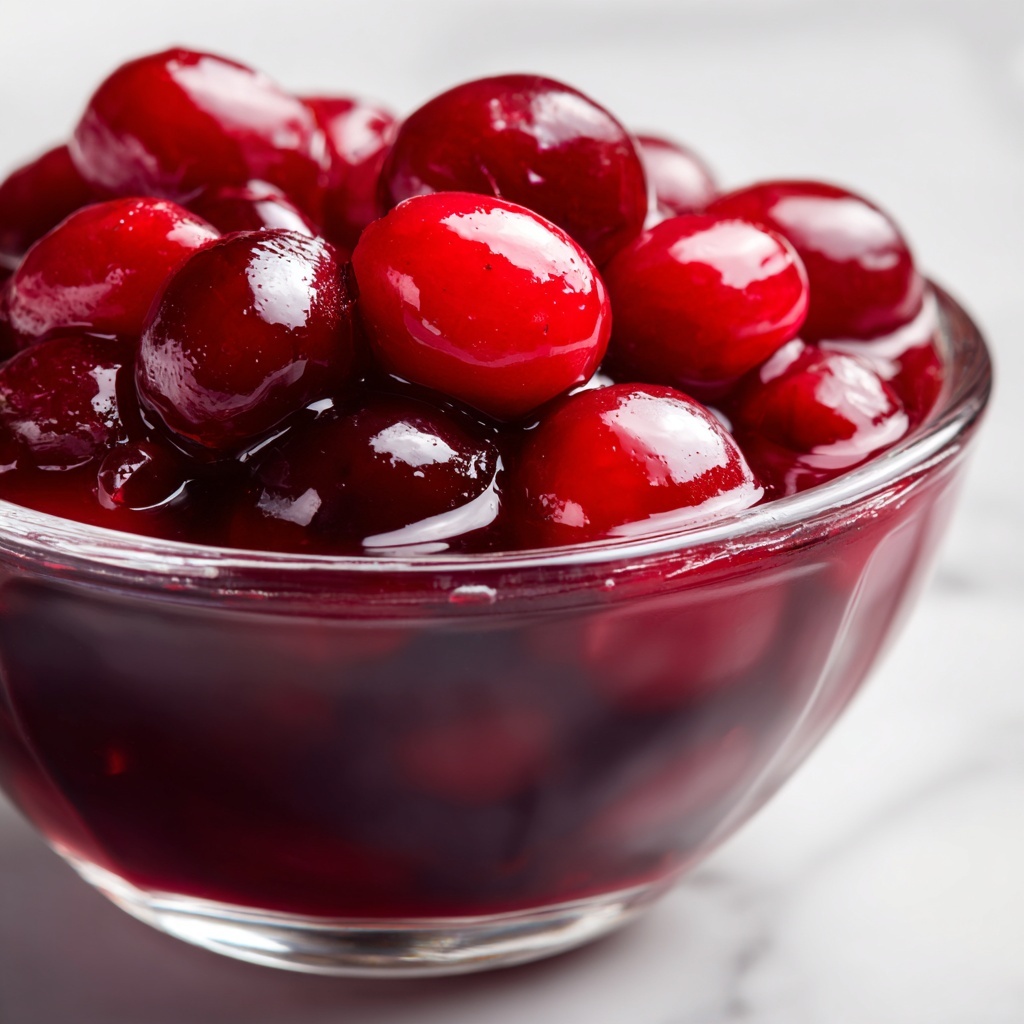
There is something absolutely magical about creating your own cherry pie filling from scratch, and the Homemade Cherry Pie Filling Recipe I’m sharing today is pure comfort in a jar. It’s a perfect balance of sweet and tart, with a luscious texture that makes every bite sing. Whether you’re dreaming of flaky pie crusts or simply want a vibrant topping for ice cream, this recipe brings the essence of cherry season right to your kitchen. Plus, it’s surprisingly simple to pull together, making it a delightful project any day of the year.
Ingredients You’ll Need
The beauty of this Homemade Cherry Pie Filling Recipe lies in the straightforward, accessible ingredients that work harmoniously to create that ideal sweet-tart flavor and glossy, luscious texture. Each component plays a vital role, from the fresh cherries that provide vibrant color and juiciness to the cornstarch that gives the filling its signature thick and velvety finish.
- 4 cups fresh or frozen cherries, pitted: The star of the show, cherries bring natural sweetness and beautiful color to your pie filling.
- 1 cup granulated sugar: Sweetens the cherries, balancing their slight tartness perfectly.
- 1/4 cup cornstarch: The thickening agent that gives your filling that perfect, spoonable consistency.
- 1/4 tsp salt: Enhances the flavors and balances the sweetness.
- 1 tbsp lemon juice: Adds a fresh, citrusy brightness to elevate the cherry flavor.
- 1/2 cup water: Provides the necessary moisture for dissolving sugar and activating the cornstarch.
- 1/2 tsp almond extract (optional): A lovely flavor boost that complements cherries beautifully but is completely optional.
How to Make Homemade Cherry Pie Filling Recipe
Step 1: Combine the Ingredients
Start by tossing your pitted cherries into a large saucepan along with the sugar, cornstarch, and salt. The combination might look dry at first, but this blend is crucial for thickening and flavor development. Stir in the lemon juice and water to bring everything together, making sure the cornstarch is well incorporated, so it won’t clump when heated.
Step 2: Cook Until Thickened
Place your saucepan over medium heat, and keep stirring frequently to prevent sticking or burning. Soon, the mixture will bubble and the cornstarch will thicken the juices into a luscious syrup that coats every cherry beautifully. This step usually takes about 5 to 10 minutes. Watching the transformation here is half the fun — from loose fruit to the perfect filling consistency.
Step 3: Add Almond Extract (Optional)
If you love that subtle hint of almond, now’s the time to add the almond extract. It’s a small addition but adds incredible depth that makes your Homemade Cherry Pie Filling Recipe taste extra special and bakery-worthy.
Step 4: Cool and Prepare to Use
Once your filling has thickened and looks glossy and irresistible, remove the saucepan from the heat. Let it cool before spooning it into your favorite pie crust or dessert. Cooling also helps the filling to set just right so it holds its shape when sliced or served.
How to Serve Homemade Cherry Pie Filling Recipe

Garnishes
A sprinkle of freshly chopped pistachios or slivered almonds pairs beautifully with the cherry filling for an added crunch. For a touch of elegance, try a dollop of freshly whipped cream or a dusting of finely grated dark chocolate on top. These garnishes do more than look pretty — they add layers of flavor that complement the sweet-tart cherries wonderfully.
Side Dishes
This homemade cherry pie filling isn’t just for pies! Try serving it alongside a warm slice of pound cake or vanilla sponge; its juicy brightness cuts through the buttery richness perfectly. It also pairs wonderfully with creamy vanilla ice cream or custard, making every bite a delightfully balanced treat.
Creative Ways to Present
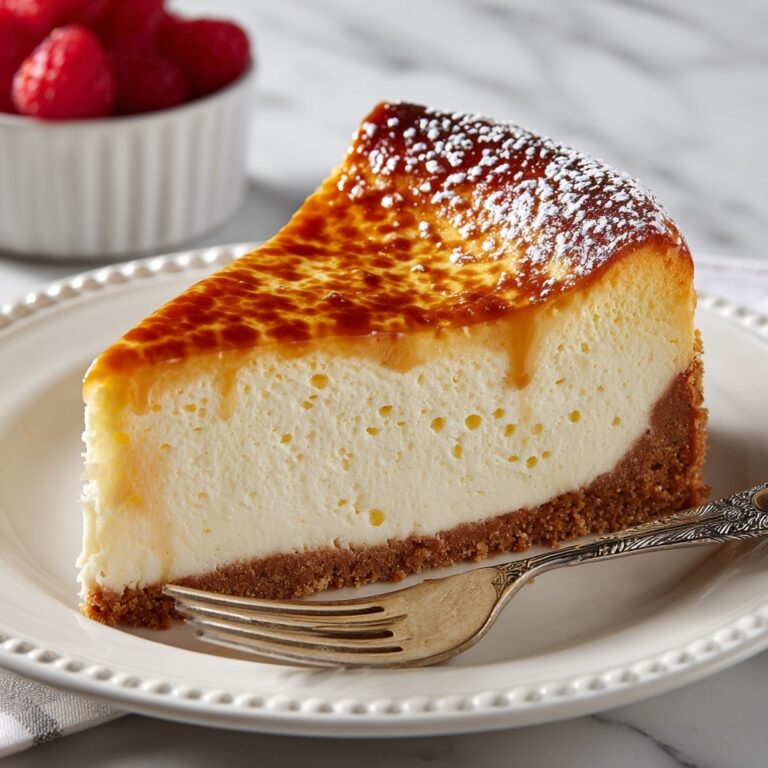
Take your Homemade Cherry Pie Filling Recipe beyond the expected by using it as a topping for pancakes or waffles at brunch or layering it with Greek yogurt and granola for a quick, fruity parfait. You can even dollop it over cheesecake for a colorful and flavorful finish that turns an ordinary dessert into a showstopper.
Make Ahead and Storage
Storing Leftovers
You can store any leftover homemade cherry pie filling in an airtight container in the refrigerator for up to 1 week. Keeping it chilled tightly preserves its fresh flavor and thick texture, so you’re ready to enjoy more deliciousness whenever the craving strikes.
Freezing
This Homemade Cherry Pie Filling Recipe freezes beautifully, making it a great make-ahead option. Pour your cooled filling into a freezer-safe container, leaving some headroom for expansion, and freeze for up to 3 months. Thaw it overnight in the fridge before use—perfect for quick desserts later!
Reheating
When you want to use your stored or frozen filling, gently reheat it in a saucepan over low heat, stirring occasionally. If the filling seems too thick after reheating, simply stir in a splash of water to loosen it to your desired consistency.
FAQs
Can I use frozen cherries instead of fresh?
Absolutely! Frozen cherries work perfectly in this Homemade Cherry Pie Filling Recipe and often make the process even easier since they’re pre-pitted and available year-round. Just be sure to thaw and drain any excess liquid before cooking to avoid a watery filling.
Do I have to add the almond extract?
Nope! The almond extract is completely optional. It adds a lovely, nutty flavor that elevates the cherries but your filling will still be delicious without it. Feel free to leave it out if you prefer a more straightforward cherry taste.
How thick should the pie filling be?
The filling should be thick enough to hold its shape without running, but still glossy and slightly saucy. It should coat the back of a spoon smoothly. If it’s too thin, cook it a bit longer; if too thick, add a splash of water and stir to loosen.
Can I use this filling for other desserts?
Definitely! This Homemade Cherry Pie Filling Recipe is versatile — it’s wonderful in pies, tarts, crumbles, or even dolloped on yogurt, oatmeal, or pancakes. It adds a burst of fresh, fruity flavor wherever it goes.
How long does the Homemade Cherry Pie Filling Recipe take to make?
This filling comes together quickly—about 20 minutes from start to finish—including cooking and cooling time. It’s a wonderfully efficient recipe that delivers maximum flavor in minimal time.
Final Thoughts
If you love the idea of bright, fresh cherry flavor wrapped in a thick, beautiful syrup, you’re going to adore this Homemade Cherry Pie Filling Recipe. It’s easy enough for a weeknight treat but elegant enough to bring to any special occasion, and it freezes like a dream. Give it a try and watch how it transforms your favorite desserts into something unforgettable.
Print
Homemade Cherry Pie Filling Recipe
- Prep Time: 5 minutes
- Cook Time: 15 minutes
- Total Time: 20 minutes
- Yield: 5 servings
- Category: Dessert Filling
- Method: Stovetop
- Cuisine: American
Description
This homemade cherry pie filling recipe combines fresh or frozen cherries with sugar, cornstarch, and a touch of lemon juice to create a thick, sweet, and slightly tart filling perfect for pies or desserts. It’s easy to make on the stovetop and can be customized with almond extract for added flavor.
Ingredients
Pie Filling Ingredients
- 4 cups fresh or frozen cherries, pitted
- 1 cup granulated sugar
- 1/4 cup cornstarch
- 1/4 tsp salt
- 1 tbsp lemon juice
- 1/2 cup water
- 1/2 tsp almond extract (optional)
Instructions
- Combine Ingredients: In a large saucepan, combine the pitted cherries, sugar, cornstarch, and salt. Stir in the lemon juice and water, mixing everything well to ensure ingredients are evenly distributed.
- Cook Mixture: Place the saucepan over medium heat. Cook the cherry mixture, stirring frequently, allowing it to bubble and thicken. This process takes about 5 to 10 minutes and is crucial for the cornstarch to activate and the filling to achieve the right consistency.
- Add Flavor: If using, add the almond extract to the thickened mixture and stir well to blend the flavors together seamlessly.
- Cool Filling: Once the mixture has thickened to the desired consistency, remove the saucepan from heat. Allow the cherry pie filling to cool completely before using it in your favorite pie or dessert recipe.
Notes
- Ensure cherries are pitted to avoid any bitterness or choking hazards.
- If using frozen cherries, do not thaw before cooking; cook directly from frozen for best texture.
- This filling can be stored in an airtight container in the refrigerator for up to 5 days.
- Almond extract is optional but adds a nice complementary flavor to the cherry filling.
- For a thicker filling, slightly increase the cornstarch by 1-2 tablespoons.


