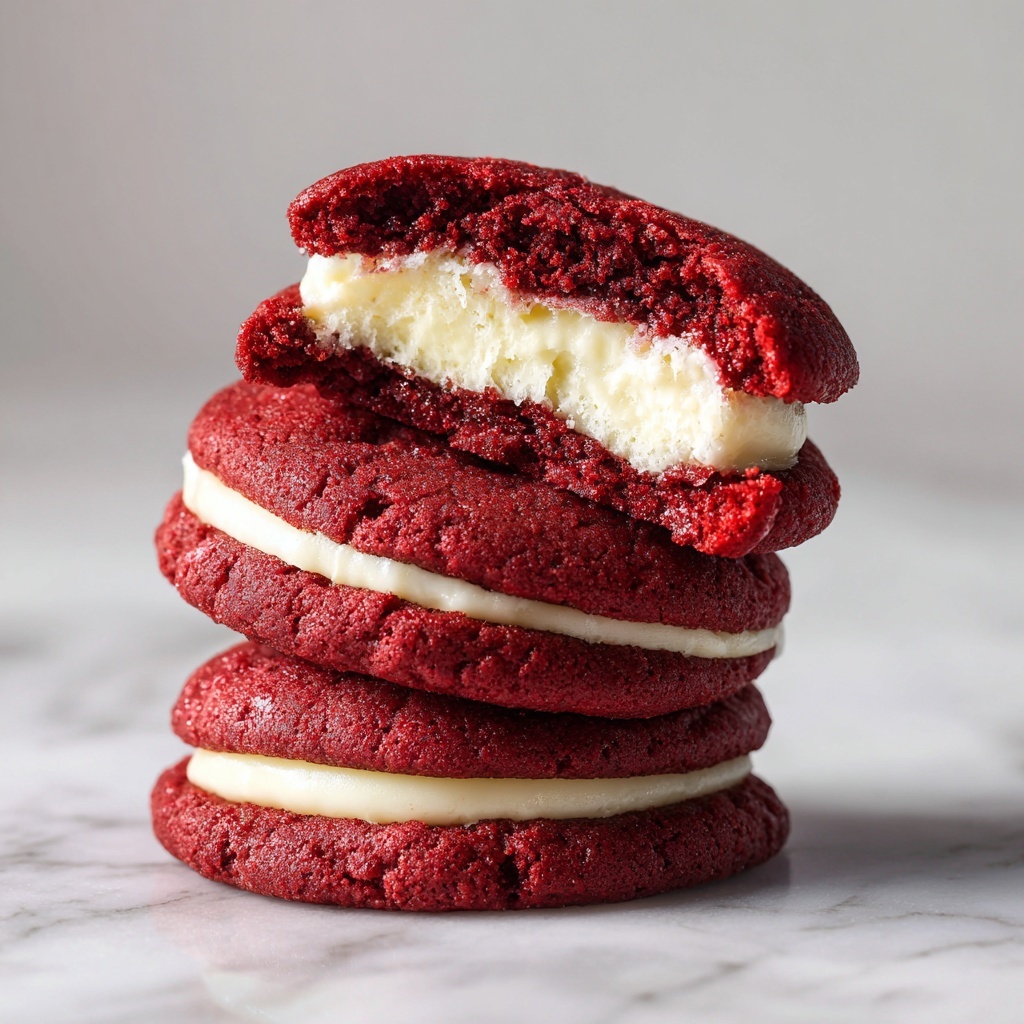
If you’re on the hunt for a dessert that brings together the rich elegance of cheesecake and the vibrant, tender crumb of red velvet, you’ve found it. This Red Velvet Cheesecake Stuffed Cookies Recipe is one of those magical treats that looks like an ordinary cookie but surprises you with a luscious cream cheese center in every bite. With its beautiful red hue and decadent filling, these cookies are perfect for celebrations, cozy afternoons, or just treating yourself to something truly special. I can’t wait to walk you through every step of crafting these irresistible delights!
Ingredients You’ll Need
Every ingredient in this recipe plays a vital role in creating the perfect balance of flavor and texture. From the smooth cream cheese filling to the red velvet cookie dough, each component is simple yet essential to making your cookies burst with that classic, indulgent charm.
- 2 ½ cups all-purpose flour: The sturdy base for the cookie dough that gives it structure without drying it out.
- 1 tbsp cocoa powder: Adds the subtle chocolate warmth that complements the red velvet taste beautifully.
- 1 tsp baking soda: Helps the cookies rise nicely and develop a tender crumb.
- ¼ tsp salt: Enhances all the flavors without overpowering the sweetness.
- 1 cup unsalted butter, softened: Brings richness and a creamy texture to the dough.
- 1 cup granulated sugar: Balances the flavors and creates just the right amount of sweetness.
- 1 large egg: Binds everything together while contributing to the cookie’s chewy texture.
- 1 tsp vanilla extract: Adds depth and warmth, rounding out the flavor profile.
- 2 tbsp red food coloring (gel or liquid): Gives that classic, eye-catching red velvet color that everyone loves.
- 1 tsp vinegar (optional): Enhances the red color and gives a slight tang that contrasts beautifully with the sweet dough.
- 8 oz cream cheese, softened: The heart of the filling, making it irresistibly creamy and dreamy.
- ½ cup powdered sugar: Sweetens the cheesecake filling for perfect indulgence.
- 1 tbsp all-purpose flour: Helps stabilize the cream cheese mixture for easy shaping and baking.
How to Make Red Velvet Cheesecake Stuffed Cookies Recipe
Step 1: Prepare the Cheesecake Filling
Start by whipping the softened cream cheese in a medium bowl until it’s perfectly smooth and creamy. This step is key to a silky filling that melts in your mouth. Add the powdered sugar, vanilla extract, and a tablespoon of flour, then beat until everything is fully combined. The flour keeps the filling firm throughout baking, preventing it from oozing out. Scoop this mixture into small balls about a tablespoon each and place them on a parchment-lined baking sheet. Freeze these little gems for at least 30 minutes to ensure they hold their shape when stuffed into the cookie dough.
Step 2: Make the Red Velvet Cookie Dough
While your cheesecake balls chill, whisk together the dry ingredients — flour, cocoa powder, baking soda, and salt — in a bowl. In a separate large bowl, cream the softened butter and granulated sugar until the mixture is light and fluffy, which helps create tender cookies. Then, beat in the egg, vanilla extract, and vibrant red food coloring until the dough reaches an even color. Adding a tsp of vinegar here is optional but really boosts that iconic red velvet tang and color. Gradually mix in the dry ingredients until you have a thick, slightly sticky dough that’s just begging to be shaped.
Step 3: Assemble the Stuffed Cookies
Preheat your oven to a cozy 350°F (175°C). Take about two tablespoons of red velvet dough and gently flatten it into a disc in your palm. Nestle a frozen cheesecake ball in the center—this contrast in temperature and texture is crucial for the perfect bite. Carefully wrap the cookie dough around the filling, sealing it completely to avoid leaks. Roll the dough ball gently so it’s smooth and uniform. Place the stuffed dough balls on a parchment-lined baking sheet, leaving around two inches between each to allow room for spreading.
Step 4: Bake the Cookies
Pop your tray into the oven and bake for 10 to 12 minutes. You’ll know they’re ready when the edges look set and the tops show those little charming cracks which hint at the creamy magic inside. After baking, let the cookies cool on the sheet for about five minutes — this helps them firm up — then transfer to a wire rack to cool completely. Patience is worth it!
Step 5: Serve and Enjoy
Once cooled, these cookies reveal their ultimate secret: a luscious cheesecake center wrapped in tender red velvet. Each bite gives you a beautiful blend of textures and flavors that’s surprisingly comforting yet indulgently special.
How to Serve Red Velvet Cheesecake Stuffed Cookies Recipe

Garnishes
A light dusting of powdered sugar or a drizzle of white chocolate over your Red Velvet Cheesecake Stuffed Cookies Recipe adds an elegant touch that’s perfect for gifting or impressing guests. For a festive flair, sprinkle some crushed peppermint or edible glitter when serving during holidays.
Side Dishes
These cookies pair wonderfully with a tall glass of cold milk or a rich cup of coffee to balance their sweetness. For a fancy dessert spread, serve alongside fresh berries or a scoop of vanilla bean ice cream to elevate the whole experience.
Creative Ways to Present
Consider stacking the cookies in a decorative jar or wrapping them in parchment tied with a colorful ribbon to make delightful homemade gifts. You can also serve them warm with a side of whipped cream or even slice them in half and add a bit of raspberry jam for an extra burst of flavor.
Make Ahead and Storage
Storing Leftovers
Keep any leftover Red Velvet Cheesecake Stuffed Cookies Recipe in an airtight container at room temperature for up to three days. If you want to preserve the fresh cream cheese center’s texture, the fridge is a better spot for up to a week, just be sure to bring them back to room temperature before enjoying.
Freezing
If you want to make these cookies in advance (and who wouldn’t?), freeze the assembled cookie dough balls before baking on a lined tray, then transfer to a freezer-safe bag. You can bake them straight from frozen, just add a couple of extra minutes to the bake time. Baked cookies freeze well too — store cooled cookies in an airtight container or freezer bag for up to three months.
Reheating
To enjoy that gooey cheesecake center warm, reheat your cookies in the microwave for about 15-20 seconds or pop them in a preheated oven at 300°F for 5 minutes. This quick warm-up brings back the best combination of softness and melty filling.
FAQs
Can I use regular cream cheese or does it have to be reduced fat?
Full-fat cream cheese is best for this recipe because it creates a rich, creamy filling that holds its shape well during baking. Reduced-fat versions may not set as nicely and can sometimes be runnier.
Is the red food coloring necessary?
While it is optional in that it doesn’t affect the cookie’s structure, red food coloring is what gives this recipe its classic red velvet color and a bit of that signature flair. Without it, the cookies will look more like chocolate cookies.
Can I make these cookies gluten-free?
Absolutely! Substitute the all-purpose flour with a gluten-free flour blend that measures cup for cup, and make sure your baking powder and cocoa powder are gluten-free. The texture might be slightly different but just as delicious.
What’s the best way to freeze these cookies?
Freeze the assembled cookie dough balls before baking for the best results, or freeze fully baked and cooled cookies. Make sure to use airtight containers or freezer bags to prevent freezer burn and maintain freshness.
How do I prevent cheesecake filling from leaking out?
Firmly freeze the cheesecake balls before stuffing them into the cookie dough and seal the edges completely when wrapping. Avoid overfilling and make sure your dough fully envelops the filling before baking.
Final Thoughts
This Red Velvet Cheesecake Stuffed Cookies Recipe has quickly become one of my go-to desserts when I want to impress with minimal fuss. The delightful combo of tender red velvet dough and a creamy cheesecake core is guaranteed to make anyone smile. Give this recipe a try and watch as these cookies disappear faster than you can say indulgence!
Print
Red Velvet Cheesecake Stuffed Cookies Recipe
- Prep Time: 20 minutes
- Cook Time: 12 minutes
- Total Time: 1 hour 2 minutes
- Yield: 18 servings
- Category: Dessert
- Method: Baking
- Cuisine: American
Description
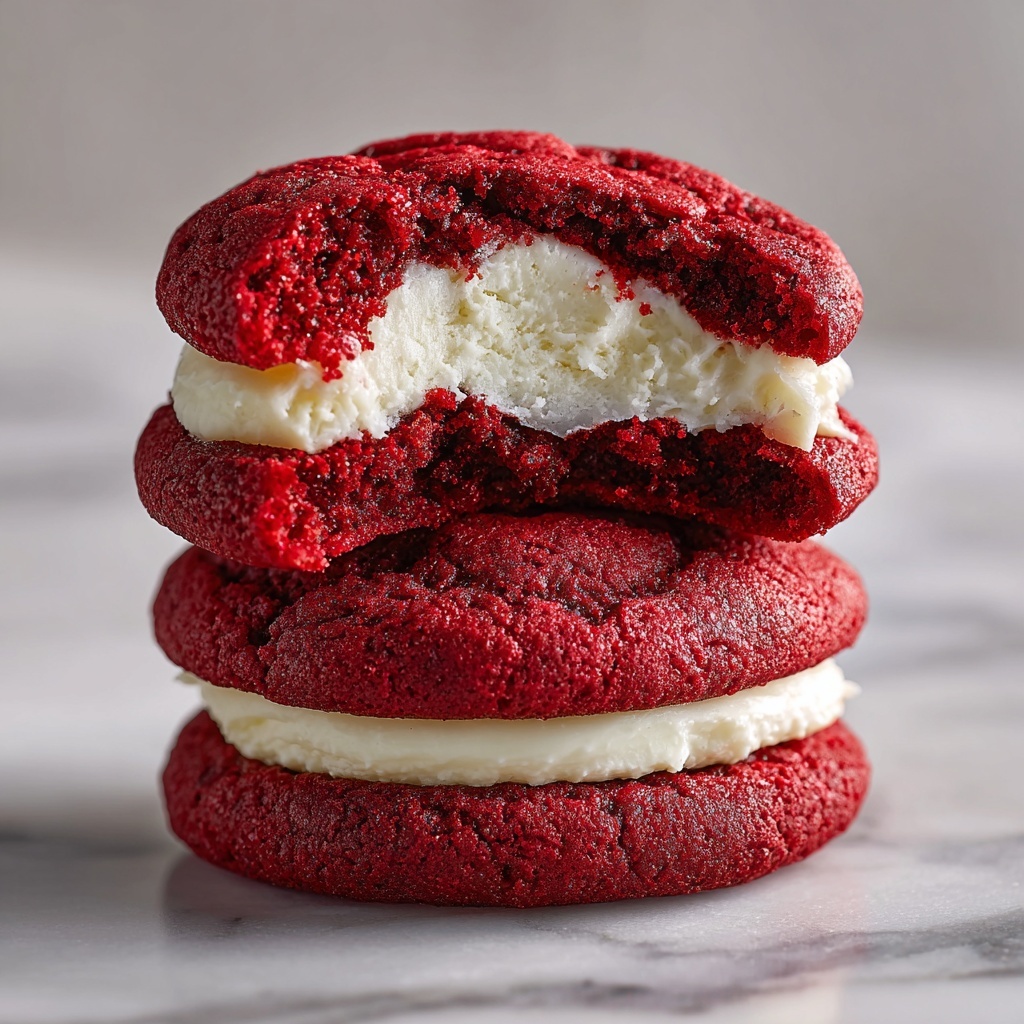
Delight in these indulgent Red Velvet Cheesecake Stuffed Cookies, combining the rich, creamy texture of cheesecake with the soft, vibrant flavor of red velvet cookies. Each cookie is filled with a luscious cheesecake center, creating a perfect balance of flavors and textures that make a delightful treat for any occasion.
Ingredients
Cheesecake Filling
- 8 oz cream cheese, softened
- ½ cup powdered sugar
- 1 tsp vanilla extract
- 1 tbsp all-purpose flour
Red Velvet Cookie Dough
- 2 ½ cups all-purpose flour
- 1 tbsp cocoa powder
- 1 tsp baking soda
- ¼ tsp salt
- 1 cup unsalted butter, softened
- 1 cup granulated sugar
- 1 large egg
- 1 tsp vanilla extract
- 2 tbsp red food coloring (gel or liquid)
- 1 tsp vinegar (optional, enhances color)
Instructions
- Prepare the Cheesecake Filling: In a medium mixing bowl, beat the softened cream cheese until smooth and creamy. Add the powdered sugar, vanilla extract, and flour, then beat until well combined. Scoop the cheesecake mixture into small balls, about 1 tablespoon each, and place them on a parchment-lined baking sheet. Freeze for at least 30 minutes or until firm to make handling easier during assembly.
- Make the Red Velvet Cookie Dough: In a medium bowl, whisk together the flour, cocoa powder, baking soda, and salt. In a separate large bowl, cream the softened butter and granulated sugar until light and fluffy. Add the egg, vanilla extract, red food coloring, and vinegar (if using), mixing until thoroughly incorporated. Gradually add the dry ingredients to the wet ingredients and mix until the dough comes together, forming a thick and slightly sticky dough.
- Assemble the Stuffed Cookies: Preheat your oven to 350°F (175°C). Scoop about 2 tablespoons of red velvet cookie dough and flatten it into a small disc in your hand. Place a frozen cheesecake ball in the center, then carefully fold the edges of the cookie dough around the cheesecake, sealing it completely. Roll the dough into a smooth ball to encase the filling fully. Place the cookie dough balls on a parchment-lined baking sheet, spacing them about 2 inches apart to allow for spreading.
- Bake the Cookies: Bake the stuffed cookies for 10 to 12 minutes, or until the edges are set and the tops appear slightly cracked. Remove from the oven and let them cool on the baking sheet for 5 minutes. Then transfer the cookies to a wire rack to cool completely, allowing the filling to set and the cookies to firm up without losing their soft texture.
- Serve and Enjoy: Once cooled, enjoy the cookies where the creamy cheesecake filling contrasts beautifully with the soft, flavorful red velvet cookie exterior, creating a rich and indulgent treat perfect for sharing.
Notes
- Freezing the cheesecake balls before assembly helps prevent leakage during baking.
- Use gel food coloring for a more vibrant color without affecting the dough’s consistency.
- Vinegar is optional but enhances the red color and tenderizes the cookie.
- Allow cookies to cool completely for the best flavor and texture experience.
- Store leftovers in an airtight container in the fridge for up to 5 days.


