
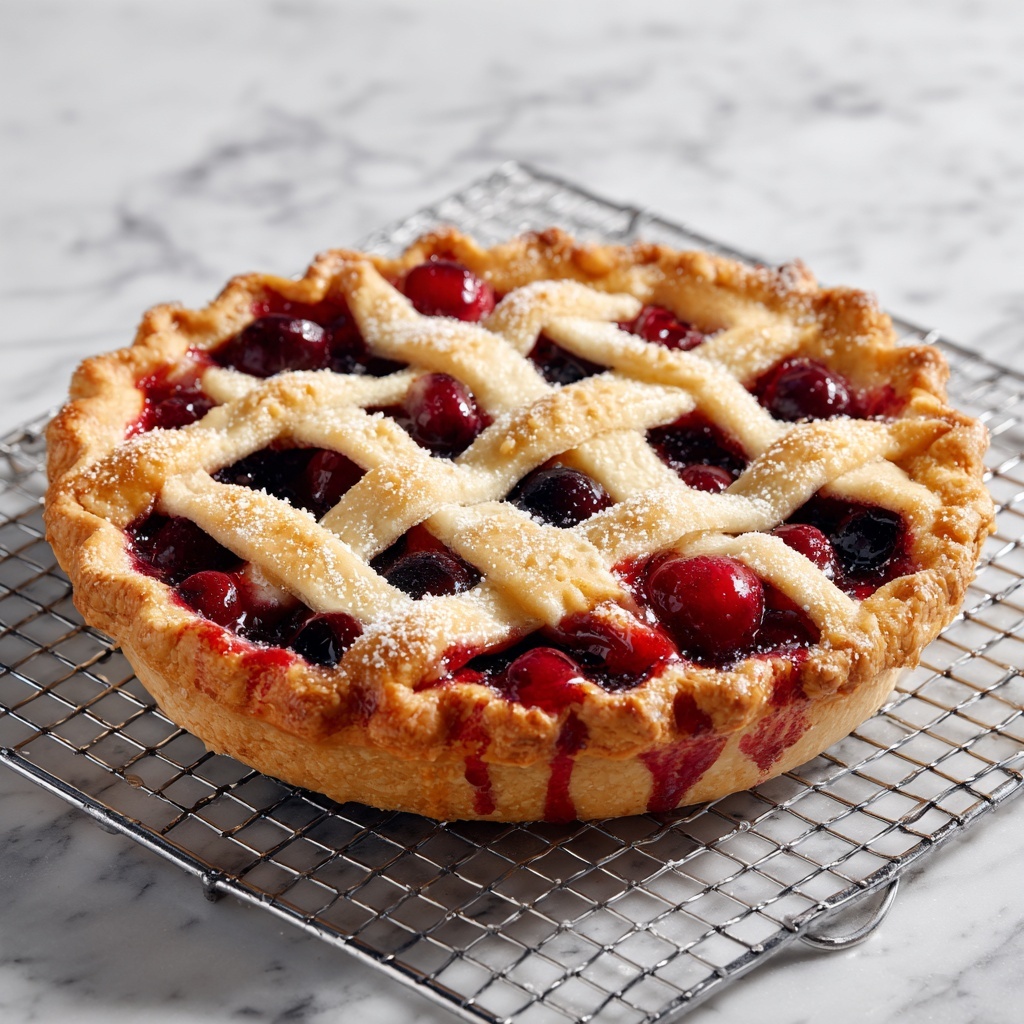
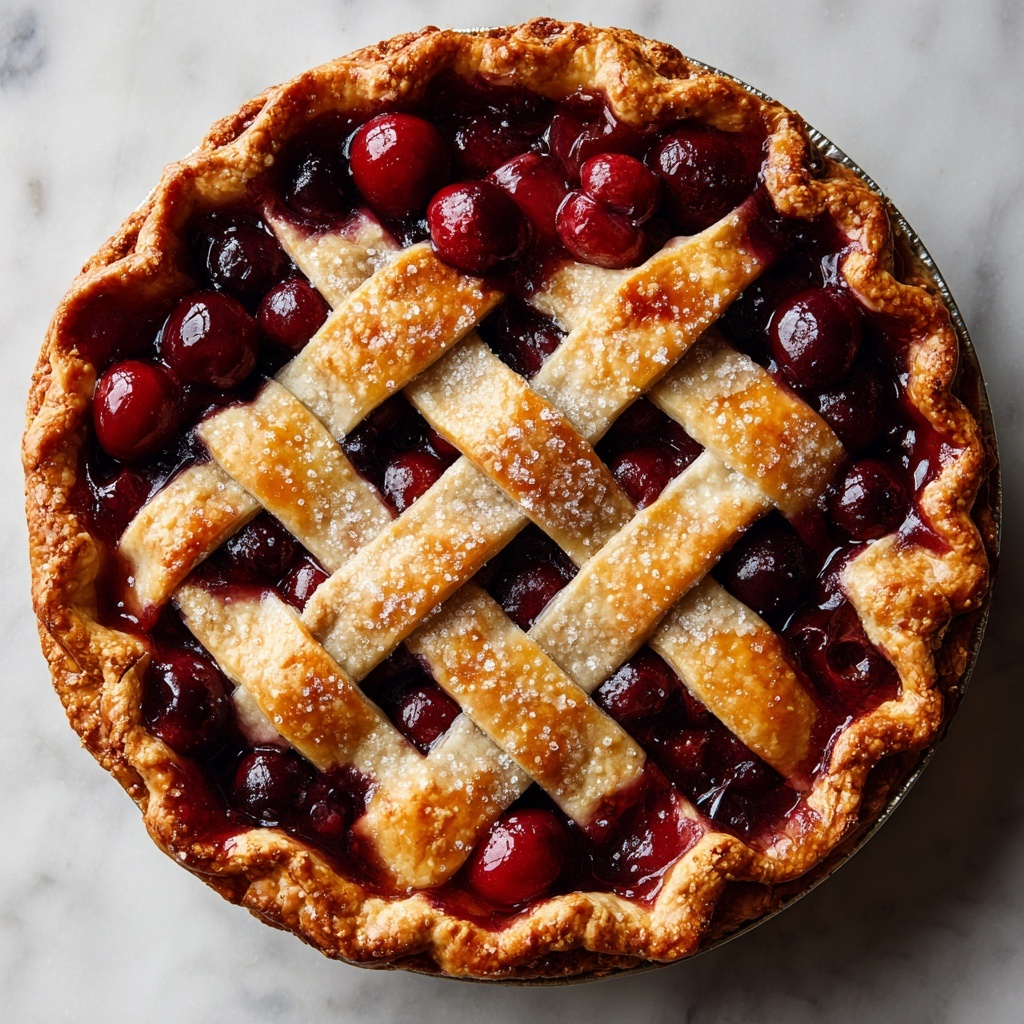
There is something truly magical about a classic homemade cherry pie, and this Baked Fresh Cherry Pie Recipe captures that magic perfectly. With its golden, flaky crust hugging a luscious, vibrant cherry filling bursting with natural sweetness and subtle almond and vanilla notes, it’s a dessert that feels like a warm hug on a plate. Whether you’re an experienced baker or just looking to impress your family and friends with a timeless treat, this recipe will guide you to cherry pie perfection every time.
Ingredients You’ll Need
Making this pie is delightfully simple because it relies on a handful of essential ingredients, each playing a key role in the overall flavor and texture. From the buttery pie crust that provides the perfect flaky base to the fresh cherries offering bright color and natural tartness, every item on this list is a building block of deliciousness.
- Pastry for a 9-inch double crust pie: This flaky crust encases the cherry filling, providing that classic golden crunch.
- Quick-cooking tapioca (4 tablespoons): Acts as a thickening agent to keep the cherry filling perfectly set without being runny.
- Salt (⅛ teaspoon): Enhances the sweetness and balances the flavors beautifully.
- White sugar (1 cup): Adds the right amount of sweetness to complement the natural cherries’ tartness.
- Pitted cherries (4 cups): The star ingredient, fresh and juicy, bringing vibrant color and juicy bursts in every bite.
- Almond extract (¼ teaspoon): A subtle hint of almond amplifies the cherry flavor and adds warmth.
- Vanilla extract (½ teaspoon): Rounds out the filling with a smooth, inviting aroma.
- Butter (1 ½ tablespoons): Dots on top of the filling add richness and create a beautiful glossy finish as it melts.
How to Make Baked Fresh Cherry Pie Recipe
Step 1: Prepare Your Oven and Crust
Start by preheating your oven to 400 degrees Fahrenheit (205 degrees Celsius). This high temperature is key to achieving that perfectly golden, flaky crust. Place your bottom pie crust into the pan and be sure to cover the top crust for now to keep it fresh and ready for assembly.
Step 2: Mix the Cherry Filling
In a large bowl, combine the quick-cooking tapioca, salt, white sugar, pitted cherries, almond extract, and vanilla extract. Let this mixture stand for about 15 minutes. This resting time allows the tapioca to absorb some of the cherry juices, helping the filling thicken beautifully once baked.
Step 3: Fill Your Pie
Pour the luscious cherry mixture into the bottom crust. Then, dot the filling with pieces of butter—this little step adds extra richness and helps give the filling a silky texture as the butter melts during baking.
Step 4: Seal and Vent the Pie
Carefully cover the filling with your top crust. Press and flute the edges to seal in all those juicy cherries. Don’t forget to cut several small vents in the top crust. These vents are essential because they let steam escape, preventing a soggy crust while keeping the filling intact.
Step 5: Prepare for Baking
Place the pie on a foil-lined cookie sheet—this catches any drips from the bubbling filling, keeping your oven clean and avoiding any burnt sugar messes.
Step 6: Bake to Perfection
Bake your pie in the preheated oven for about 50 minutes. You’re looking for a crust that’s beautifully golden brown and a filling that’s bubbling enticingly underneath. Turning the oven temperature down slightly after 25 minutes can help prevent over-browning if needed.
Step 7: Cool Before Serving
Once baked, patience is key. Let the pie cool for several hours so the filling sets fully. This ensures that when you slice it, each piece holds together perfectly, showcasing that glossy, rich cherry filling every time.
How to Serve Baked Fresh Cherry Pie Recipe
Garnishes
To make serving your cherry pie even more special, consider adding a scoop of vanilla ice cream or a dollop of freshly whipped cream. A sprinkle of toasted almond slices can also bring in a lovely crunch and an extra hint of nuttiness that pairs beautifully with the almond extract in the filling.
Side Dishes
A slice of this pie pairs wonderfully with a hot cup of coffee or a glass of chilled milk. For a more decadent touch, offer alongside a small serving of crème anglaise or a drizzle of warm chocolate sauce—both add an indulgent twist without overpowering the cherry flavor.
Creative Ways to Present
Looking to impress your guests? Serve the pie in individual ramekins using the same filling recipe but with mini tart shells, transforming it into adorable personal cherry pies. Or, for an unexpected flair, top slices with fresh mint leaves and a light dusting of powdered sugar for a festive, elegant presentation.
Make Ahead and Storage
Storing Leftovers
After enjoying your pie, store any leftovers covered loosely with foil or plastic wrap at room temperature for up to two days to maintain that flaky crust. For longer freshness, refrigeration is recommended, which keeps the filling stable for up to four days.
Freezing
You can freeze the baked pie by wrapping it tightly in plastic wrap and then foil, protecting it from freezer burn. Freeze for up to three months, then thaw in the refrigerator overnight before reheating. This option is perfect for prepping ahead of special occasions.
Reheating
Reheat your cherry pie slices in the oven at 350 degrees Fahrenheit for about 15 minutes to regain that fresh-out-of-the-oven warmth and crispiness. Avoid the microwave if you want to keep the crust flaky and delicious.
FAQs
Can I use frozen cherries instead of fresh?
Absolutely! Frozen cherries work quite well, just make sure to thaw and drain them well to prevent excess moisture from making the filling watery.
What is the purpose of tapioca in this pie?
Tapioca acts as a thickener that absorbs the cherry juices as they cook, resulting in a filling that is thick and luscious rather than runny.
Why are almond and vanilla extracts used together?
The almond extract enhances the natural cherry flavor with subtle nutty notes, while vanilla adds warmth and depth, together creating a more complex and inviting taste.
How do I prevent the crust edges from burning?
Cover the edges with foil or a pie crust shield about halfway through baking. This protects them from over-browning while the rest of the pie finishes baking perfectly.
Is it necessary to let the pie cool before slicing?
Yes, cooling allows the filling to set properly, which means cleaner slices and prevents the filling from spilling out when you cut into the pie.
Final Thoughts
Now that you’ve got this Baked Fresh Cherry Pie Recipe in your baking arsenal, you’re all set to delight yourself and those lucky enough to share a slice. It’s a dessert that celebrates simplicity and fresh ingredients, delivering warmth and joy in every bite. Trust me, once you make it, this pie will become a beloved classic in your home — happy baking!
Print
Baked Fresh Cherry Pie Recipe
- Prep Time: 20 minutes
- Cook Time: 50 minutes
- Total Time: 3 hours 10 minutes
- Yield: 1 9-inch pie (8 servings)
- Category: Dessert
- Method: Baking
- Cuisine: American
Description
This classic baked fresh cherry pie features a flaky double crust filled with a luscious cherry mixture thickened with quick-cooking tapioca and enhanced with almond and vanilla extracts. Perfectly golden and bursting with juicy cherries, this pie is ideal for dessert lovers seeking a traditional, homemade fruit pie.
Ingredients
Pie Crust
- 1 recipe pastry for a 9-inch double crust pie (for bottom crust)
- 1 recipe pastry for a 9-inch double crust pie (for top crust)
Filling
- 4 tablespoons quick-cooking tapioca
- ⅛ teaspoon salt
- 1 cup white sugar
- 4 cups pitted cherries
- ¼ teaspoon almond extract
- ½ teaspoon vanilla extract
- 1 ½ tablespoons butter
Instructions
- Preheat Oven: Preheat oven to 400 degrees F (205 degrees C). Place the bottom crust in a 9-inch pie pan and set the top crust aside, covered, to prevent drying.
- Prepare Filling: In a large mixing bowl, combine the quick-cooking tapioca, salt, white sugar, pitted cherries, almond extract, and vanilla extract. Stir well and let the mixture stand for 15 minutes to allow the tapioca to absorb the cherry juices and thicken the filling.
- Fill Pie: Pour the cherry mixture evenly into the prepared bottom crust in the pie pan. Dot the filling with small pieces of the 1 ½ tablespoons butter, which will add richness and help develop a glossy finish.
- Cover and Vent: Place the top pastry crust over the filling. Seal the edges by fluting them together to create a decorative border. Cut vents into the top crust to allow steam to escape during baking, preventing sogginess.
- Prepare for Baking: Place the pie on a foil-lined cookie sheet to catch any drips during baking, keeping the oven clean and catching any filling overflow.
- Bake: Bake in the preheated oven for 50 minutes or until the crust is golden brown and the filling is bubbly.
- Cool: Remove the pie from the oven and allow it to cool for several hours. Cooling helps the filling set perfectly, making it easier to slice and enhancing flavor.
Notes
- Using quick-cooking tapioca ensures the filling thickens nicely without becoming too runny.
- Letting the cherry filling sit before baking allows natural juices to blend with the tapioca for perfect consistency.
- Cutting vents in the top crust is essential to avoid a soggy pie and to make the crust crisp.
- Cooling the pie thoroughly before slicing helps the filling to set and maintain its structure.
- For a shiny, golden crust, you can brush the top with an egg wash before baking (optional).

