
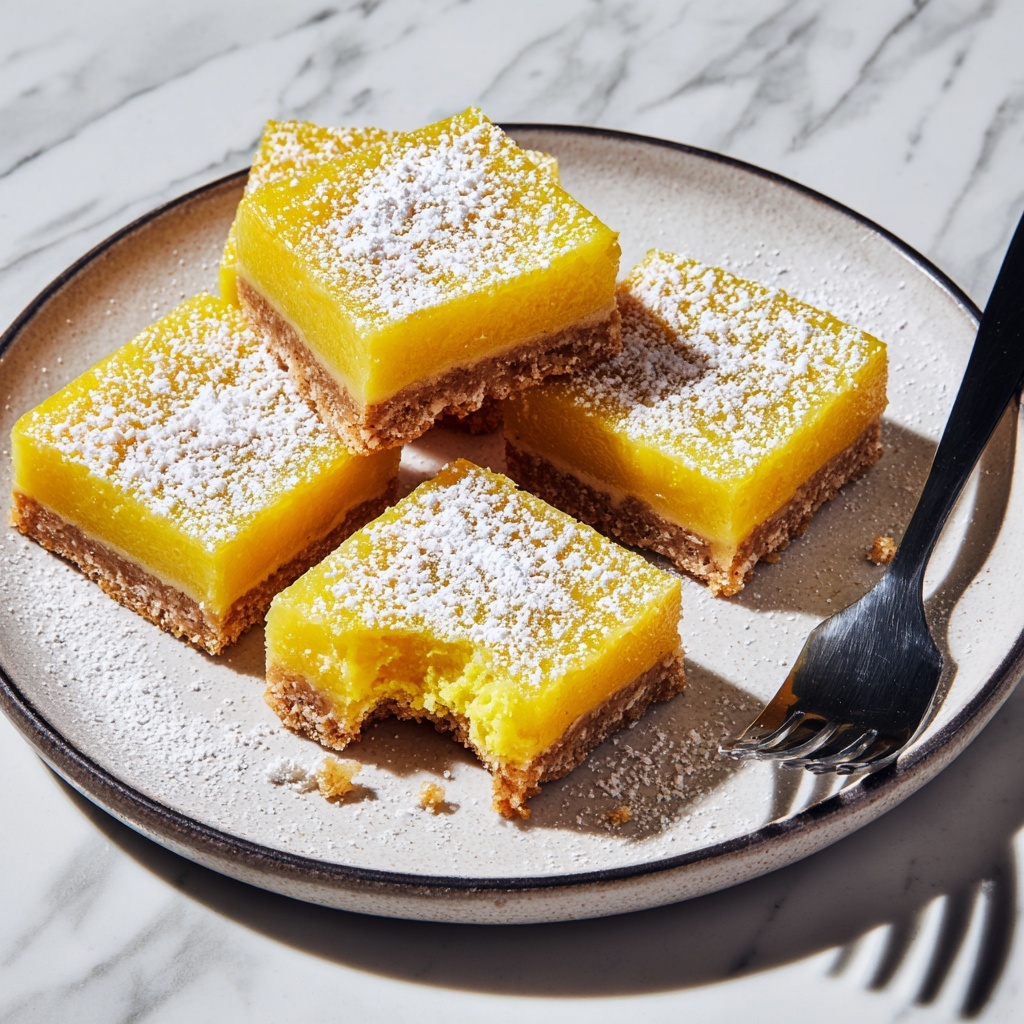
If you’ve been searching for a bright, tangy, and irresistibly buttery treat, then this Small Batch Lemon Bars Recipe is going to become your new favorite go-to dessert. Perfectly balancing sweet and tart, these lemon bars offer a luscious, citrusy filling nestled on a tender, crumbly crust that feels like a warm hug on a sunny afternoon. Plus, it’s designed for just the right small batch, so you won’t be stuck with a mountain of leftovers, but just enough to satisfy that lemony craving or to share with a few friends. Trust me, once you try this recipe, you’ll be making these delightful lemon bars again and again!
Ingredients You’ll Need
Getting started with this Small Batch Lemon Bars Recipe is a breeze because the ingredients are incredibly simple yet essential for achieving that perfect burst of flavor and texture. Each item plays a vital role in creating the buttery crust and the smooth, bright lemon filling that make this dessert unforgettable.
- All-purpose flour: The base of the crust and a binder in the filling to keep everything tender yet structured.
- Powdered sugar: Adds a gentle sweetness and creates a melt-in-your-mouth texture for the crust.
- Salt: Enhances all the flavors and balances the sweetness.
- Unsalted butter: Provides richness and that classic, buttery crumb to the crust.
- Large eggs: Help set the lemon filling and give it a silky smooth consistency.
- Granulated sugar: Sweetens the lemon filling to perfection without overpowering the citrus.
- Fresh lemon juice: The star ingredient delivering fresh, zesty brightness.
- Lemon zest: Intensifies the lemon flavor and adds a lovely fragrance to the bars.
- Baking powder: Gives a slight lift to the filling for a light texture.
- Powdered sugar (optional): For dusting on top, adding a pretty finish and a hint of extra sweetness.
How to Make Small Batch Lemon Bars Recipe
Step 1: Prepare Your Oven and Pan
Start by preheating your oven to 350°F (175°C). This temperature is just right for baking the crust to a delicate golden hue without drying it out. Meanwhile, grease an 8×8-inch baking pan or line it with parchment paper to make sure your lemon bars come out perfectly every time.
Step 2: Make the Crust
Whisk together the flour, powdered sugar, and salt in a medium bowl to evenly distribute the ingredients. Then, add the softened butter and mix until the dough just comes together—it should feel nice and crumbly but hold when pressed. Press this dough firmly and evenly into the prepared pan to create that classic buttery base that supports the tangy filling.
Step 3: Bake the Crust
Pop the crust into the oven and bake for 10 to 12 minutes. Keep an eye out for that light golden color developing along the edges—it means the crust is perfectly baked and ready for the next step.
Step 4: Whisk Together the Lemon Filling
While the crust is baking, whisk your eggs and sugar until smooth and well combined. Then add in the fresh lemon juice, lemon zest, flour, and baking powder. Continue whisking until the filling is silky with no lumps—this mixture will give your bars their signature tangy, yet smooth lemon custard filling.
Step 5: Bake the Lemon Bars
Once the crust is out of the oven, pour the fresh lemon filling directly over the hot crust. Immediately return the pan to the oven and bake for another 18 to 20 minutes until the filling is just set and starting to turn golden at the edges. This slow set gives you that luscious texture that melts in your mouth.
Step 6: Cool and Cut
After baking, allow your bars to cool to room temperature. If you like, dust the top with powdered sugar for an extra touch of sweetness and visual appeal. Finally, cut the bars into squares—each one showcasing that perfect balance of tart and sweet.
Step 7: Chill if Desired
For a firmer, more refreshing bite, pop the lemon bars in the fridge before serving. The chilled texture contrasts beautifully with the tender crumb and tangy filling, making every bite irresistible.
How to Serve Small Batch Lemon Bars Recipe

Garnishes
To make your lemon bars look as delightful as they taste, consider garnishing with a dusting of powdered sugar or a few thin lemon slices or twists. A sprinkle of fresh mint leaves adds a lovely color contrast and a fresh aroma that complements the citrus flavor beautifully.
Side Dishes
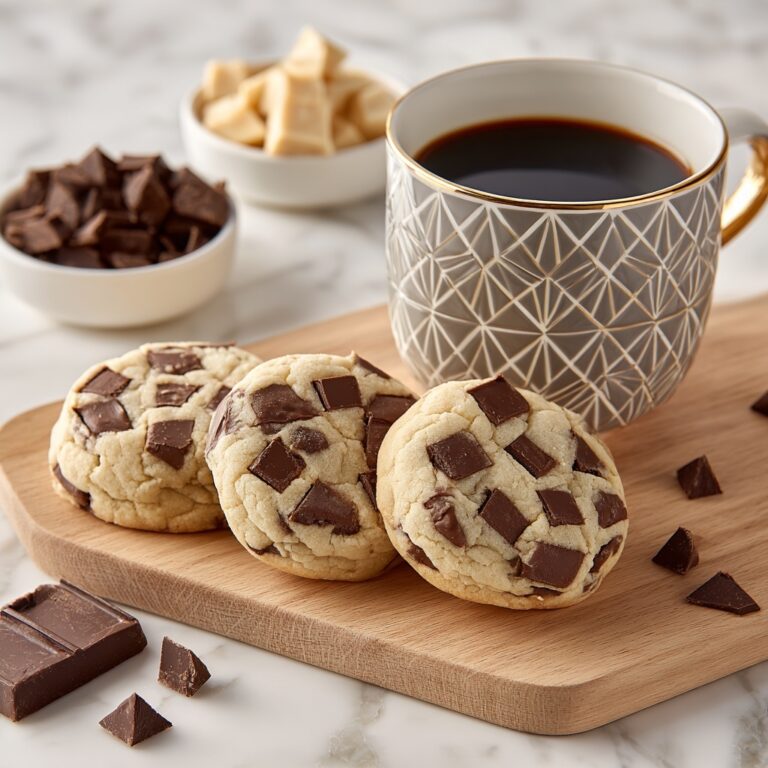
Lemon bars pair wonderfully with a cup of hot tea or freshly brewed coffee, enhancing the lemon’s bright notes. For a brunch or dessert plate, serve alongside fresh berries or a dollop of whipped cream to add luscious creaminess to the tangy bars.
Creative Ways to Present
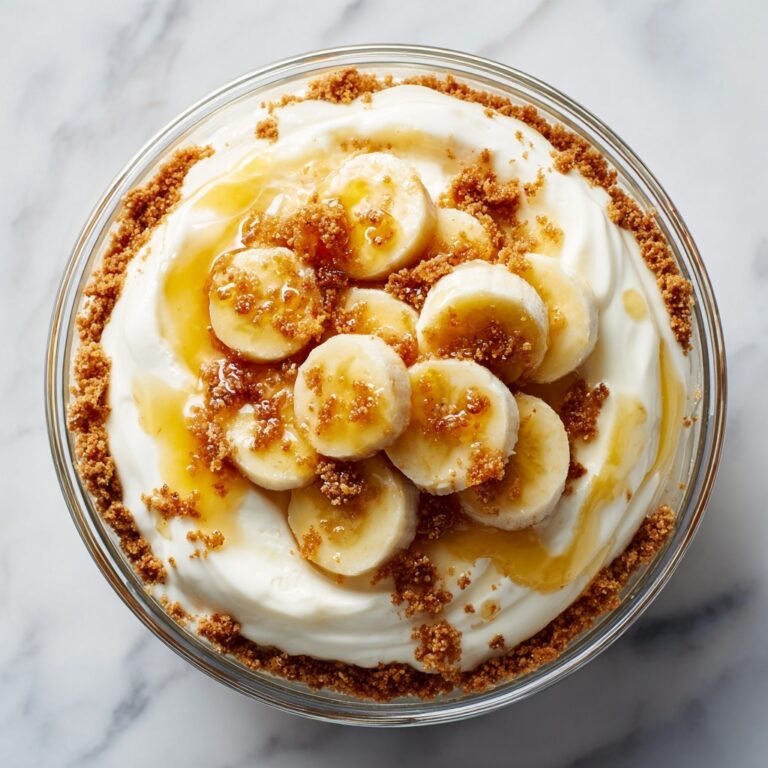
Elevate your Small Batch Lemon Bars Recipe by serving them on a rustic wooden board or delicate china plates for a charming look. You can also layer bars with whipped mascarpone and berries in a dessert trifle for a playful twist on presentation that’s sure to impress guests.
Make Ahead and Storage
Storing Leftovers
Store your leftover lemon bars in an airtight container in the refrigerator to keep them fresh for up to 4 days. The cool environment helps maintain their structure and flavor without drying them out.
Freezing
Want to save some lemony goodness for later? Wrap your bars tightly in plastic wrap and aluminum foil before freezing. They’ll keep beautifully for up to 3 months. When you’re ready for a treat, just thaw them overnight in the fridge.
Reheating
If you prefer them warm, gently reheat lemon bars in a low oven at 300°F for about 10 minutes or until just warmed through. Be careful not to overheat, as this can change the texture of the filling.
FAQs
Can I use bottled lemon juice instead of fresh lemons?
Fresh lemon juice is best for that bright, vibrant flavor, but in a pinch, bottled lemon juice will work. Just keep in mind it might be a little less tart and fresh-tasting.
Why do my lemon bars turn out runny?
If your lemon bars aren’t setting properly, make sure you’re baking them long enough and that the flour and eggs are measured correctly. Also, avoid underbaking; the bars should be set but still slightly jiggly in the center when you take them out.
Can I make these bars gluten-free?
Definitely! Substitute the all-purpose flour in both the crust and filling with a gluten-free flour blend that measures cup-for-cup. The texture might vary slightly, but the flavor will still shine.
How do I get a more pronounced lemon flavor?
Adding extra lemon zest or a touch more fresh lemon juice can boost that citrus punch without compromising balance. Just adjust the sugar slightly if you add more juice.
What’s the best pan size for this Small Batch Lemon Bars Recipe?
An 8×8-inch pan is ideal for this recipe, giving you bars that are thick enough to hold the perfect ratio of crust to filling in each bite. Using a larger pan will make the bars thinner and might affect baking time.
Final Thoughts
I genuinely hope you fall in love with this Small Batch Lemon Bars Recipe as much as I have. It’s a little slice of sunshine that fits perfectly into your day without the stress of overmaking or wasting ingredients. These bars strike the perfect balance of tart and sweet, with a buttery crust that just melts away. So grab your lemons, and let’s bring a burst of homemade joy to your kitchen!
Print
Small Batch Lemon Bars Recipe
- Prep Time: 15 minutes
- Cook Time: 32 minutes
- Total Time: 47 minutes
- Yield: 9 servings
- Category: Dessert
- Method: Baking
- Cuisine: American
Description
These Small Batch Lemon Bars are a delightful citrus treat perfect for when you want a fresh, tangy dessert without making a large quantity. Featuring a buttery shortbread crust and a bright lemon filling, they’re baked until just set and lightly golden. Easy to prepare and perfect for sharing, these lemon bars offer a perfect balance of sweet and tart in every bite.
Ingredients
For the crust:
- 1/2 cup all-purpose flour
- 1/4 cup powdered sugar
- 1/4 teaspoon salt
- 1/4 cup unsalted butter, softened
For the filling:
- 2 large eggs
- 1/2 cup granulated sugar
- 1/4 cup fresh lemon juice (about 2 lemons)
- 1 tablespoon lemon zest
- 1/4 cup all-purpose flour
- 1/4 teaspoon baking powder
Optional:
- Powdered sugar for dusting
Instructions
- Preheat Oven and Prepare Pan: Preheat your oven to 350°F (175°C). Grease or line an 8×8-inch baking pan with parchment paper to prevent sticking and for easy removal of the bars.
- Make the Crust: In a medium bowl, whisk together the flour, powdered sugar, and salt. Add the softened butter and mix with a fork or your fingers until the dough comes together. Press this dough evenly into the bottom of your prepared baking pan to form the crust layer.
- Bake the Crust: Place the pan in the preheated oven and bake the crust for 10 to 12 minutes, or until it turns lightly golden brown. This step ensures a crisp and sturdy base for the lemon filling.
- Prepare the Filling: While the crust is baking, combine the eggs and granulated sugar in a separate bowl. Whisk until the mixture is smooth and well combined. Add the fresh lemon juice, lemon zest, flour, and baking powder, then whisk again until you have a smooth batter.
- Bake with Filling: Once the crust is baked, pour the lemon filling over the hot crust evenly. Return the pan to the oven and bake for an additional 18 to 20 minutes, or until the filling is set and the edges are lightly golden.
- Cool and Cut: Remove the pan from the oven and allow the lemon bars to cool to room temperature. Optionally dust the top with powdered sugar before cutting into squares or bars.
- Chill for Best Texture: For a firmer texture, chill the lemon bars in the refrigerator before serving. This also makes them easier to slice neatly.
Notes
- Use freshly squeezed lemon juice for the best tangy flavor.
- Let the bars cool completely before cutting to avoid crumbling.
- Chilling the bars enhances the texture and helps them hold their shape.
- Powdered sugar dusting adds sweetness and a pretty finishing touch but is optional.
- Store leftover lemon bars in an airtight container in the refrigerator for up to 4 days.
