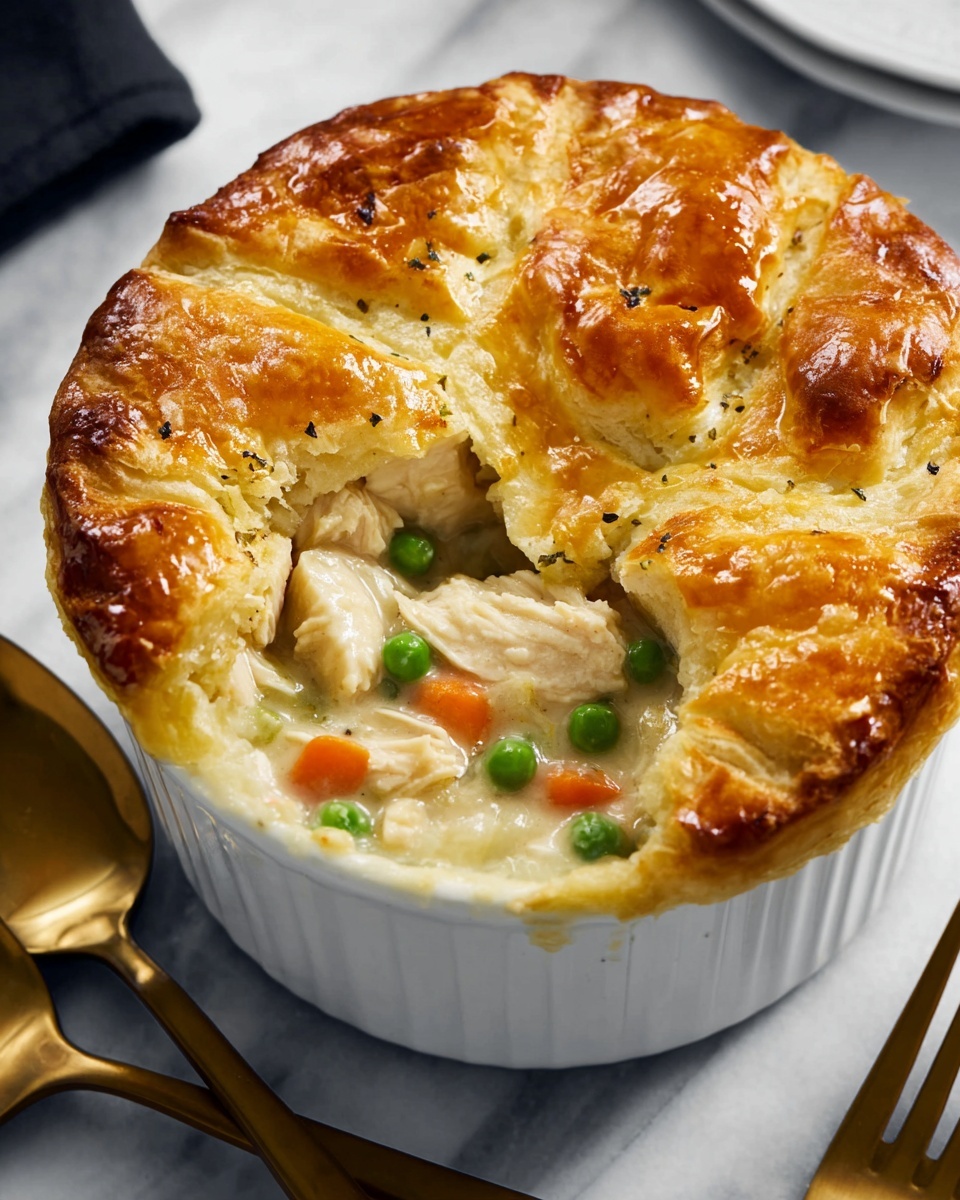
If you’re craving a cozy dish that wraps up the perfect combination of hearty chicken and creamy vegetables under a golden topping, let me introduce you to the Bisquick Chicken Pot Pie Recipe. This comforting meal is a true kitchen hero, delivering that classic pot pie flavor without the fuss of making pastry from scratch. It’s simple, satisfying, and absolutely bursting with warmth—just like the homemade dinners that make you feel right at home.
Ingredients You’ll Need
Gathering the right ingredients for this Bisquick Chicken Pot Pie Recipe is both easy and essential. Each item plays a role, whether it’s enhancing flavor, providing texture, or adding that beautiful color that makes you hungry before the first bite.
- Cooked, shredded chicken (2 cups): The star protein that gives the dish its hearty, comforting base, easily substituted with rotisserie chicken for quick prep.
- Frozen mixed vegetables, thawed (1 cup): A colorful blend that adds freshness, sweetness, and a pop of nutrition to every forkful.
- Chopped onion (1/2 cup): Brings a subtle sweetness and depth to the filling, infusing the dish with savory aroma.
- Chicken broth (1 cup): Keeps the filling moist and flavorful, contributing a lovely, rich base.
- Condensed cream of chicken soup (10.5 oz can): The secret to creamy indulgence that binds all ingredients beautifully.
- Bisquick mix (1 cup): A simple shortcut that creates a tender, golden crust without the fuss of making dough.
- Milk (1/2 cup): Blends with Bisquick to form a light, fluffy batter topping.
- Egg (1): Adds structure and richness to the crust, helping it brown perfectly in the oven.
How to Make Bisquick Chicken Pot Pie Recipe
Step 1: Prepare the Filling
Start by heating your preheated oven to 400°F. In a medium saucepan over medium heat, combine your chopped onion, chicken broth, and the condensed cream of chicken soup. Stir everything until it’s smooth and warmed through, about five minutes. This step melds the flavors together and creates a creamy base that’s absolutely irresistible.
Step 2: Add Chicken and Vegetables
Next, stir in the shredded chicken and thawed mixed vegetables. Mixing them thoroughly ensures every bite will be packed with hearty, colorful goodness. This filling is the comfort center of your pot pie and deserves to be treated with care.
Step 3: Assemble in the Baking Dish
Grease a 9-inch pie or baking dish, then pour in your luscious chicken and vegetable mixture. Spreading it evenly forms the perfect canvas for your Bisquick topping, setting you up for a golden, bubbly finish.
Step 4: Whisk and Pour the Bisquick Batter
In a separate bowl, whisk together Bisquick mix, milk, and egg until the batter is smooth and inviting. Pour this gently over the filling mixture in your dish. This batter will rise slightly as it bakes, forming that signature crust without the usual fuss.
Step 5: Bake to Perfection
Bake your pie uncovered for 30 to 35 minutes, keeping an eye out for a golden brown top and bubbly filling. When it reaches that point, it’s ready to come out. Let it cool for five minutes to allow the flavors to settle—this is key for the perfect slice.
How to Serve Bisquick Chicken Pot Pie Recipe

Garnishes
Sprinkle a little freshly chopped parsley or thyme on top just before serving. Not only does it add a vibrant green color that makes your dish pop, but it also introduces a fresh, herbaceous note that complements the creamy filling beautifully.
Side Dishes
This pot pie pairs wonderfully with crisp green salads or steamed greens like broccolini or green beans, balancing the richness with a touch of lightness. A side of crusty bread is also perfect for soaking up any extra gravy.
Creative Ways to Present
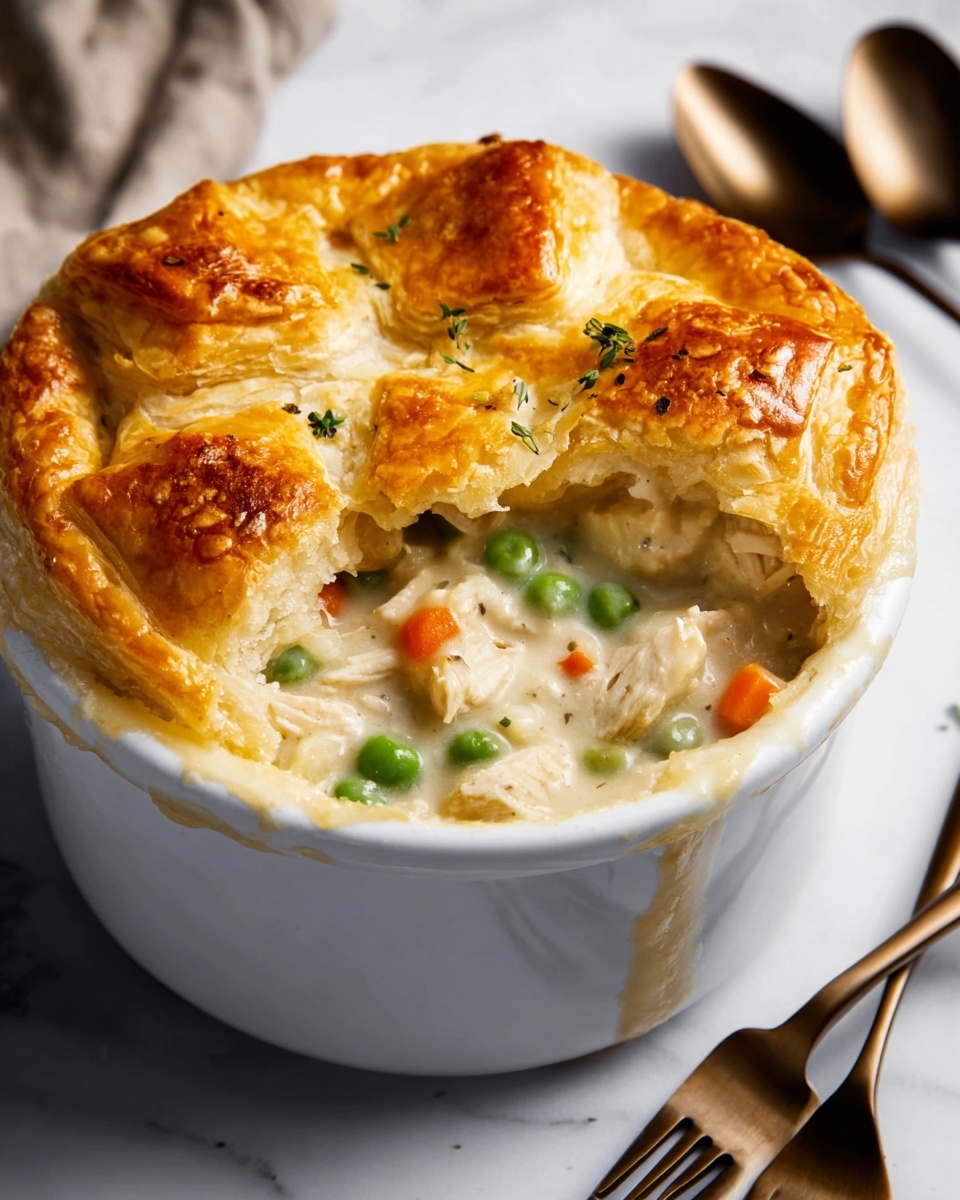
For a fun twist, try baking individual pot pies in ramekins or muffin tins. They’re perfect for portion control and add a charming personal touch. You can even sprinkle cheese on top just before baking for an extra delicious crust layer.
Make Ahead and Storage
Storing Leftovers
Store any leftovers in an airtight container in the refrigerator for up to three days. Cover the pot pie tightly to keep the crust from drying out and the filling fresh and flavorful.
Freezing
You can freeze baked pot pie slices wrapped well in plastic wrap and foil for up to two months. Thaw overnight in the fridge before reheating for best texture and taste.
Reheating
Reheat your leftovers in a preheated oven at 350°F until warmed through and the crust regains some crispness, usually about 15 to 20 minutes. Avoid microwaving when possible to keep the crust from becoming soggy.
FAQs
Can I use fresh vegetables instead of frozen?
Absolutely! Fresh veggies work beautifully in this Bisquick Chicken Pot Pie Recipe. Just be sure to chop them into small, uniform pieces and sauté briefly if you want a softer texture.
Is Bisquick the same as regular flour for the crust?
Bisquick is a pre-mixed baking blend that includes flour, baking powder, salt, and fat, which makes it a fantastic shortcut. It’s designed to create a tender, flaky crust without the fuss of mixing from scratch.
Can I add extra herbs or spices?
Yes! Adding garlic powder, thyme, or rosemary to the filling can elevate the flavor. Feel free to season to your taste, making this pot pie perfectly yours.
What if I don’t have cream of chicken soup?
You can substitute with homemade béchamel sauce or cream of mushroom soup for a different but still delicious flavor profile. Just adjust the seasoning accordingly.
Is this recipe kid-friendly?
Definitely! The creamy texture, mild flavors, and familiar ingredients make it a hit with kids and adults alike, making it a wholesome family-friendly meal.
Final Thoughts
This Bisquick Chicken Pot Pie Recipe is one of those timeless dishes that feels like a warm hug after a long day. It’s wonderfully simple to prepare but delivers on comfort and flavor in every bite. I’m confident that once you try it, this pot pie will become a beloved staple in your recipe collection.
Print
Bisquick Chicken Pot Pie Recipe
- Prep Time: 10 minutes
- Cook Time: 35 minutes
- Total Time: 45 minutes
- Yield: 6 servings
- Category: Main Course
- Method: Baking
- Cuisine: American
- Diet: Kid-Friendly
Description
This Bisquick Chicken Pot Pie is a comforting and easy-to-make dish that combines shredded chicken, mixed vegetables, and a creamy sauce topped with a golden Bisquick batter crust. Perfect for a quick weeknight dinner, it offers classic flavors with minimal effort using pantry staples and ready-to-use ingredients.
Ingredients
Filling
- 2 cups cooked, shredded chicken
- 1 cup frozen mixed vegetables (thawed)
- 1/2 cup chopped onion
- 1 cup chicken broth
- 1 can (10.5 oz) condensed cream of chicken soup
Bisquick Batter Topping
- 1 cup Bisquick mix
- 1/2 cup milk
- 1 egg
Instructions
- Preheat oven: Set your oven to 400°F (200°C) to prepare for baking the pot pie.
- Prepare the filling: In a medium saucepan over medium heat, combine the chopped onion, chicken broth, and condensed cream of chicken soup. Stir continuously until the mixture is smooth and thoroughly heated through, approximately 5 minutes.
- Add chicken and vegetables: Stir in the shredded chicken and thawed mixed vegetables into the heated soup mixture, combining evenly to create the filling.
- Transfer to dish: Pour the filling mixture into a greased 9-inch pie or baking dish, spreading it out evenly.
- Make the biscuit batter: In a separate bowl, whisk together the Bisquick mix, milk, and egg until the batter is smooth and lump-free.
- Add the topping: Pour the batter evenly over the chicken and vegetable filling in the baking dish, covering the mixture completely.
- Bake: Place the dish in the preheated oven and bake for 30 to 35 minutes, or until the top is golden brown and the filling is bubbling along the edges.
- Cool and serve: Remove from the oven and let the pot pie cool for about 5 minutes before slicing and serving to allow the filling to set.
Notes
- For convenience, rotisserie chicken can be used in place of cooking your own chicken.
- To enhance flavor, add a pinch of garlic powder or dried thyme to the filling mixture.
- Ensure the mixed vegetables are well thawed for even cooking and texture.
- Greasing the baking dish prevents the crust from sticking and makes serving easier.

