
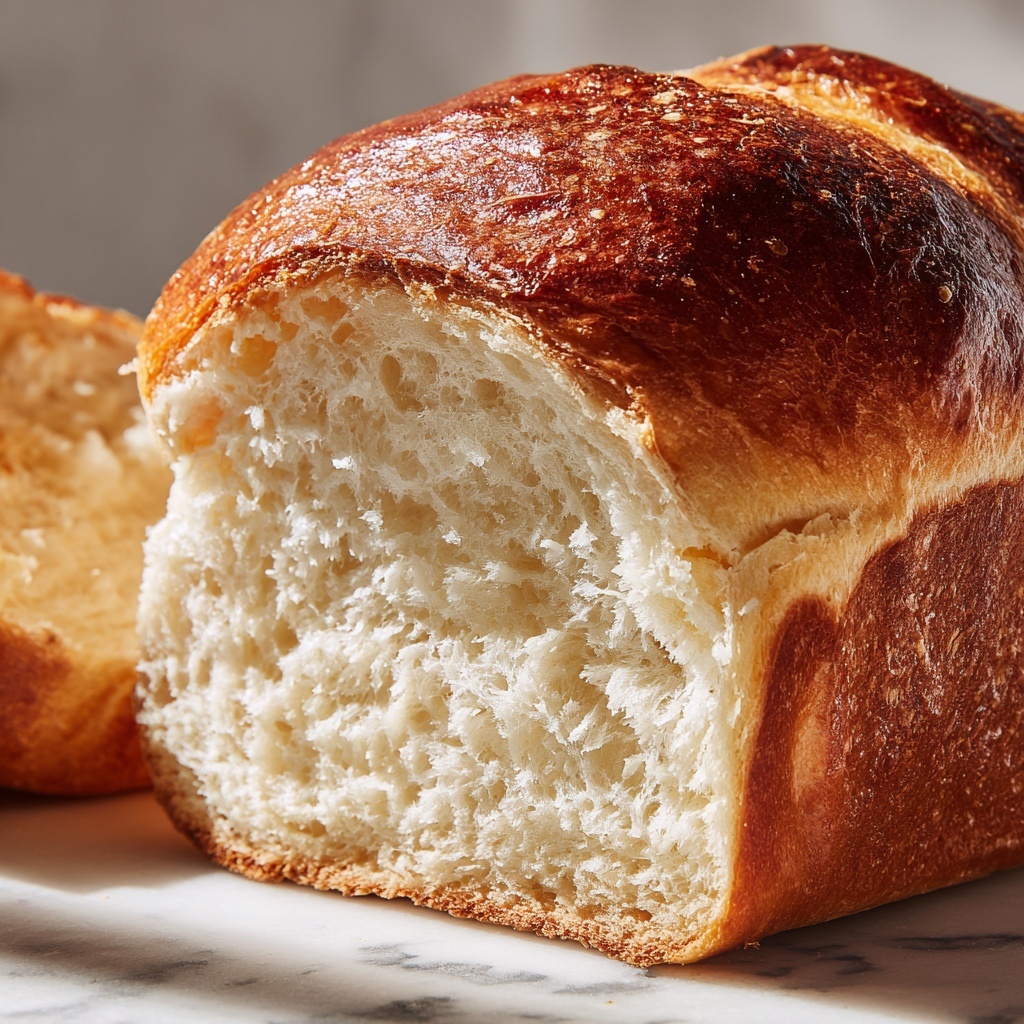
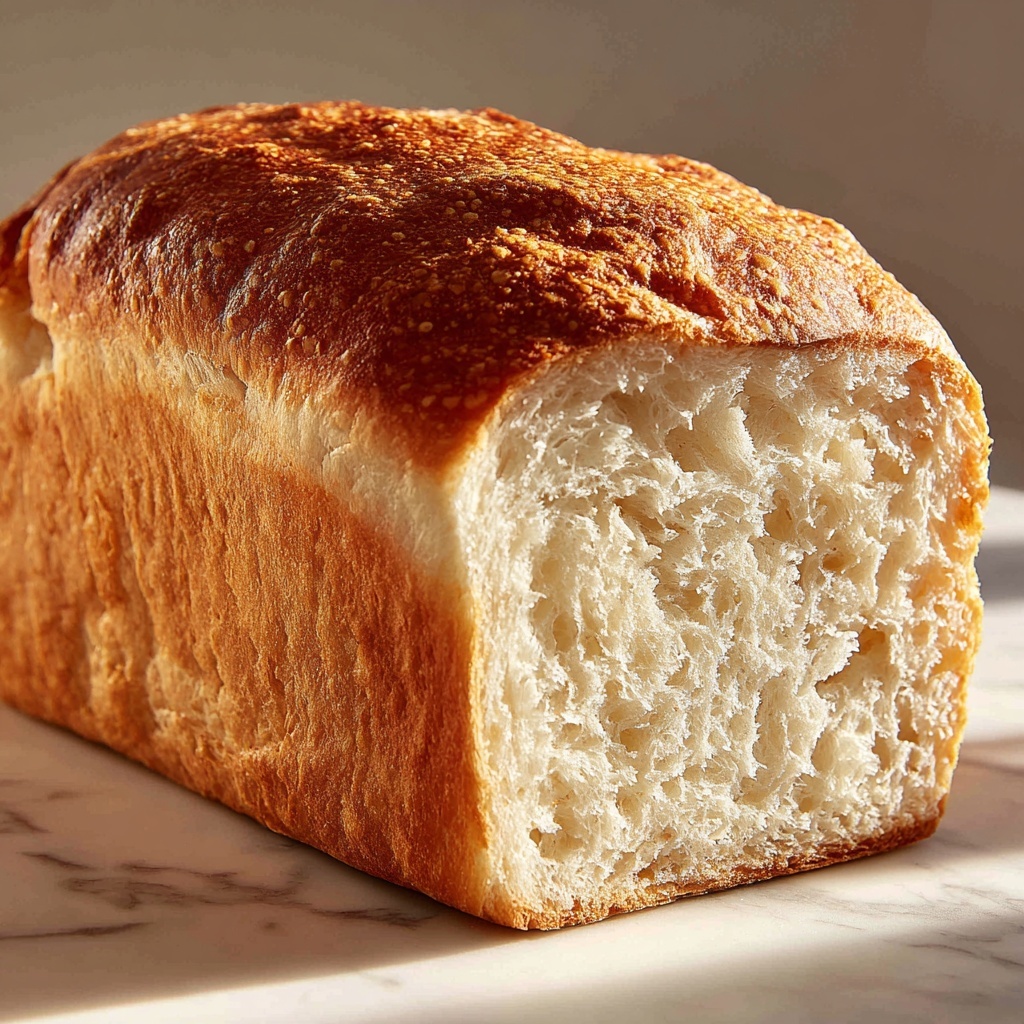
If you have ever longed for a soft, fluffy loaf without the gluten, then you are in for a treat with this Classic Gluten-Free White Sandwich Bread Recipe. This delightful loaf combines a tender crumb with a golden crust, giving you the perfect base for sandwiches, toast, or just a warm slice with butter. It’s a game changer for those who need or want to avoid gluten but refuse to compromise on the home-baked goodness we all love. With simple ingredients and straightforward steps, this recipe brings a smile every time you pull that fresh bread from the oven.
Ingredients You’ll Need
The magic of the Classic Gluten-Free White Sandwich Bread Recipe lies in its simple, well-chosen ingredients. Each one plays a vital role, whether it’s creating the right texture, adding flavor, or making sure your bread rises beautifully.
- 2 cups gluten-free all-purpose flour: The base of the bread that ensures it’s completely gluten-free without sacrificing texture.
- 1 tablespoon sugar: Helps activate the yeast and adds a subtle sweetness.
- 1 teaspoon salt: Balances flavor and strengthens the dough.
- 1 tablespoon active dry yeast: The essential leavening agent that makes the bread rise and become fluffy.
- 1 cup warm water: Activates the yeast and hydrates the dough, making it soft and tender.
- 2 tablespoons olive oil: Adds moisture and a tender crumb while keeping the bread fresh longer.
- 2 eggs: Provide structure and richness, giving the bread a lovely golden color and soft texture.
How to Make Classic Gluten-Free White Sandwich Bread Recipe
Step 1: Prepare Your Oven and Pan
Begin by preheating your oven to 375°F (190°C). Grease a loaf pan thoroughly to ensure your bread bakes evenly and releases without sticking. This small preparation step sets the stage for a beautiful loaf.
Step 2: Mix Dry Ingredients
In a mixing bowl, combine the gluten-free all-purpose flour, sugar, salt, and active dry yeast. Mixing these dry ingredients first helps distribute the yeast and salt evenly through the flour, which is crucial for consistent rising and flavor development.
Step 3: Add Liquids and Eggs
Pour in the warm water, olive oil, and crack in the two eggs. Stir everything together until you form a smooth dough. The warm water will awaken the yeast, the eggs will add richness and stability, and the olive oil keeps the crumb tender without weighing it down.
Step 4: Transfer and Shape
Transfer the dough to your prepared loaf pan, then smooth out the top gently with a spatula. This ensures an even rise and a neat shape that will fit perfectly on your sandwich plate. The dough will be a bit stickier than traditional wheat dough—that’s totally normal for gluten-free bread.
Step 5: Bake to Perfection
Bake the bread in your preheated oven for about 40 minutes. You’ll know it’s done when the crust turns a lovely golden brown and sounds hollow when you gently tap the bottom. This step brings that irresistible aroma into your kitchen, signaling your fresh loaf is ready to enjoy.
Step 6: Cool Before Slicing
Allow the bread to cool in the pan for 10 minutes. Then, transfer it to a wire rack to cool completely. Cooling is essential because it lets the crumb set, making slicing easier and preventing the bread from becoming gummy inside.
How to Serve Classic Gluten-Free White Sandwich Bread Recipe
Garnishes
This bread is wonderfully versatile, so simple garnishes like a slather of creamy butter, a sprinkle of herbs, or even a light drizzle of honey can transform a basic slice into a treat. Toast it lightly to bring out a subtle nutty flavor, and add any topping you like for an easy breakfast or snack.
Side Dishes
Classic Gluten-Free White Sandwich Bread Recipe pairs beautifully with soups, stews, or salads. It’s excellent as a side for a rich tomato soup, a comforting vegetable stew, or a crisp garden salad. The soft texture soaks up sauces perfectly, enhancing every bite of your meal.
Creative Ways to Present
Take this bread from everyday to extraordinary by using it for breakfast sandwiches filled with avocado and eggs or making classic grilled cheese with your favorite melty cheese. It also works great for homemade croutons or bread pudding, giving your dishes a tender, gluten-free foundation that impresses.
Make Ahead and Storage
Storing Leftovers
Once your loaf has cooled completely, wrap it tightly in plastic wrap or place it in an airtight container to keep it fresh. Stored at room temperature, it should stay soft for 2 to 3 days—perfect for enjoying throughout the week.
Freezing
The Classic Gluten-Free White Sandwich Bread Recipe freezes wonderfully. Slice the bread before freezing, then wrap slices individually or in small batches. This way, you can pull out exactly what you need without thawing the whole loaf. It keeps well for up to 3 months.
Reheating
When you’re ready to enjoy frozen bread, simply toast slices directly from the freezer or warm the whole loaf wrapped in foil at 350°F (175°C) for 10 to 15 minutes. The bread will regain its soft texture and delightful aroma, just like fresh from the oven.
FAQs
Can I substitute olive oil with another type of oil?
Yes! While olive oil adds a nice flavor and moisture, you can use vegetable oil, canola oil, or melted coconut oil if you prefer. Just keep the quantity the same for best results.
Is this recipe suitable for vegan diets?
This Classic Gluten-Free White Sandwich Bread Recipe uses eggs, so it is not vegan. However, you can experiment with vegan egg replacements like flax eggs or commercial egg replacers, though the texture may vary slightly.
How do I know if the bread is fully baked?
Look for a golden brown crust and gently tap the bottom of the loaf—it should sound hollow. This is a great indicator that the bread is cooked through and ready to cool.
Can I use a bread machine to make this recipe?
While this dough is best baked in a loaf pan due to its texture, some bread machines with gluten-free settings might work. Be sure to check your machine’s guidelines and adjust baking times accordingly.
Why does the dough feel stickier than regular bread dough?
Gluten-free doughs lack the elasticity of gluten, so they tend to be stickier and stick to your hands or utensil more. This is normal and doesn’t mean the bread won’t rise or bake well.
Final Thoughts
I absolutely love how this Classic Gluten-Free White Sandwich Bread Recipe brings the comfort of homemade bread to everyone, regardless of dietary needs. It’s straightforward enough to whip up on a busy day but always leaves you with a warm, satisfying loaf that you can slice, share, and enjoy in countless ways. Give it a try—you’ll be amazed at just how delicious gluten-free bread can be!
Print
Classic Gluten-Free White Sandwich Bread Recipe
- Prep Time: 15 minutes
- Cook Time: 40 minutes
- Total Time: 55 minutes
- Yield: 1 loaf (approximately 8 slices)
- Category: Bread
- Method: Baking
- Cuisine: American
- Diet: Gluten Free
Description
This Classic White Sandwich Bread recipe uses gluten-free ingredients to create a soft, golden loaf perfect for everyday sandwiches or toast. With simple pantry staples like gluten-free flour, yeast, and eggs, this bread is a versatile addition to any meal and suitable for gluten-sensitive diets.
Ingredients
Dry Ingredients
- 2 cups gluten-free all-purpose flour
- 1 tablespoon sugar
- 1 teaspoon salt
- 1 tablespoon active dry yeast
Wet Ingredients
- 1 cup warm water
- 2 tablespoons olive oil
- 2 eggs
Instructions
- Preheat and Prepare Pan: Preheat your oven to 375°F (190°C) and grease a loaf pan to prevent the bread from sticking.
- Mix Dry Ingredients: In a mixing bowl, thoroughly combine the gluten-free flour, sugar, salt, and active dry yeast to ensure even distribution.
- Add Wet Ingredients and Form Dough: Pour in the warm water, olive oil, and eggs into the dry mix. Stir and mix until a smooth dough forms with no lumps.
- Transfer to Pan: Spoon the dough into the prepared loaf pan and smooth the top with a spatula for even rising and baking.
- Bake the Bread: Bake the dough in the preheated oven for 40 minutes until the top is golden brown and the bread sounds hollow when tapped, indicating it is fully baked.
- Cool Down: Remove the bread from the oven and let it cool in the pan for 10 minutes, then transfer to a wire rack to cool completely before slicing.
Notes
- Make sure the water is warm, not hot, to activate the yeast without killing it.
- The bread is best enjoyed fresh but can be stored in an airtight container for up to 3 days.
- Use a wire rack to cool the bread to avoid sogginess on the bottom crust.
- This recipe is gluten-free and suitable for those with gluten sensitivities.
- For a softer crust, cover the bread with a clean towel while it cools.


