
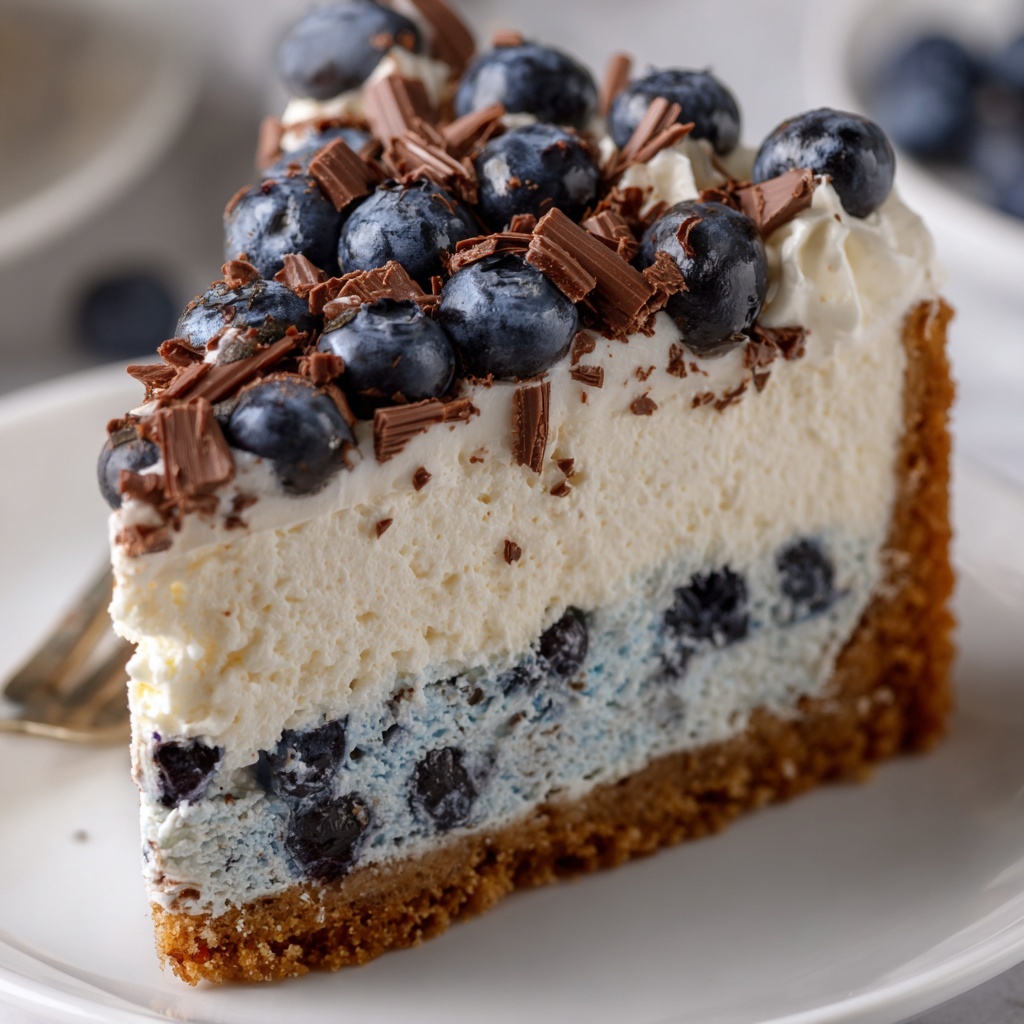
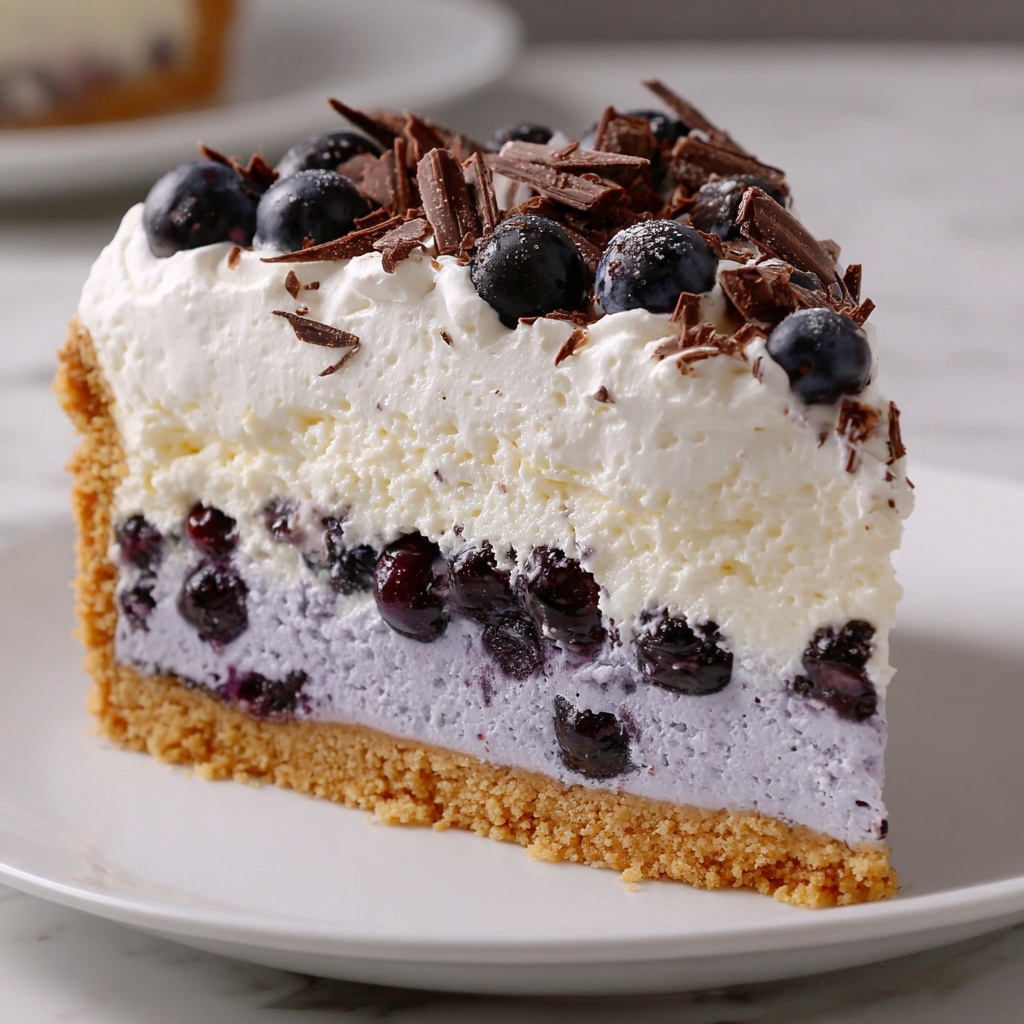
If you’ve ever dreamed of indulging in a playful, wildly delicious dessert that combines the nostalgic crunch of cookies with the creamy richness of cheesecake, then the Cookie Monster Cheesecake Recipe is exactly what you need. Bursting with bright blue color and studded with mini chocolate chip cookies, these mini cheesecakes are as fun to make as they are to eat. Perfect for parties or when you just want to treat yourself, this recipe brings a whimsical twist to classic cheesecake that’s guaranteed to brighten your day and satisfy your sweet tooth.
Ingredients You’ll Need
Gathering the right ingredients for this Cookie Monster Cheesecake Recipe is straightforward and rewarding, as each one plays a key role in delivering that perfect balance of flavor, texture, and eye-catching color. From crumbly cookie crust to luscious cream cheese filling and crunchy cookie mix-ins, you’re about to whip up some magic.
- Chocolate sandwich cookies (1 1/2 cups, crushed): These form the deliciously chocolatey base that brings the familiar Oreo crunch to the crust.
- Unsalted butter (4 tablespoons, melted): It binds the crust ingredients together for that perfect crumbly texture.
- Cream cheese (16 ounces, softened): The heart of a luscious cheesecake, providing smooth, creamy richness.
- Granulated sugar (1/2 cup): Sweetens the filling just right, balancing the tanginess of the cream cheese and sour cream.
- Sour cream (1/4 cup): Adds a subtle tang and moisture to keep the texture silky and tender.
- Vanilla extract (1 teaspoon): Enhances the flavor depth with a warm, comforting aroma.
- Eggs (2 large): These help set the cheesecake while keeping it soft and smooth.
- Salt (1/4 teaspoon): Just a pinch to heighten all the sweet and creamy flavors.
- Blue gel food coloring: Use sparingly to achieve the whimsical Cookie Monster blue hue without altering texture.
- Mini chocolate chip cookies (1/2 cup): These sneak inside for delightful crunchy bites in every forkful.
- Crushed chocolate chip cookies (1/2 cup): Another playful texture element, adding variety in crunch and flavor.
- Mini chocolate chips (1/4 cup): Small bursts of chocolate that add extra decadence and fun.
- Whipped cream (for topping): Light and fluffy, it’s the perfect complement to the rich cheesecake.
- Additional crushed cookies and whole mini cookies (optional): For the ultimate Cookie Monster garnish that’s too cute to resist.
How to Make Cookie Monster Cheesecake Recipe
Step 1: Prepare the Crust
Start by preheating your oven to 325°F and lining a muffin tin with 12 cupcake liners. Combine the crushed chocolate sandwich cookies with melted butter until the mixture resembles damp sand. Press about a tablespoon firmly into the bottom of each liner to create a sturdy, flavorful base. Pop these into the oven for 5 minutes so they set just right, then let them cool while you prepare the filling.
Step 2: Make the Cream Cheese Filling
In a large bowl, beat the softened cream cheese until it’s smooth and creamy. Gradually add in the sugar, mixing until fully combined. Then add sour cream, vanilla extract, and salt, blending these in gently. Crack in the eggs one at a time, beating just until incorporated to avoid overmixing. Slowly add the blue gel food coloring a drop or two at a time until you achieve that signature bright blue tone that screams Cookie Monster. Finally, fold in the mini chocolate chip cookies, crushed chocolate chip cookies, and mini chocolate chips, ensuring every bite will have those irresistible cookie surprises.
Step 3: Bake Your Cheesecakes
Divide the batter evenly over the prepared crusts in the cupcake liners. Bake these delightful mini cheesecakes for 18 to 22 minutes. You’ll know they’re done when their centers are set yet still have a gentle wobble—just the way cheesecake should be. Take care not to overbake to maintain creamy texture and prevent cracking.
Step 4: Cool and Chill
Allow your cheesecakes to cool completely at room temperature before transferring them to the refrigerator. Chill them for at least 4 hours or ideally overnight, so all those flavors meld beautifully and the texture becomes perfectly firm but still creamy.
How to Serve Cookie Monster Cheesecake Recipe
Garnishes
The magic of this Cookie Monster Cheesecake Recipe doesn’t stop in the oven. Before serving, add a generous swirl of whipped cream on each mini cheesecake. Sprinkle more crushed cookies on top and add a few whole mini cookies as a cheeky garnish. These finishing touches not only add extra flavor contrast but make every bite visually irresistible—just like the Cookie Monster would want.
Side Dishes
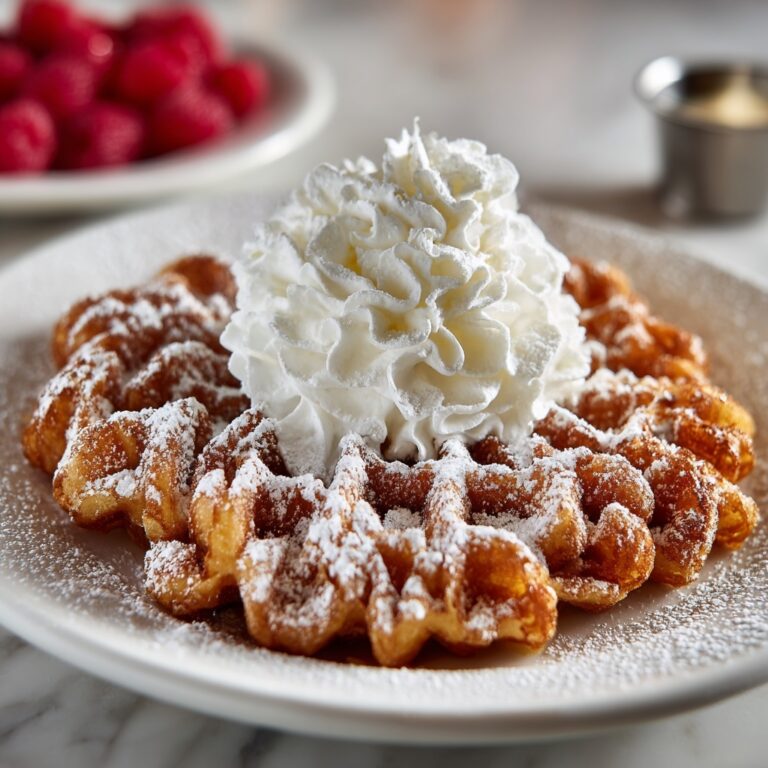
While these mini cheesecakes are rich enough to stand on their own, pairing them with fresh berries or a cool scoop of vanilla ice cream adds a fresh balance to the indulgence. You can also serve alongside a cup of coffee or a cold glass of milk to highlight the cookie and cream flavors perfectly.
Creative Ways to Present
Impress your guests by arranging the mini cheesecakes on a bright blue platter to complement their vibrant color, or place each in a cupcake wrapper with fun Cookie Monster themed picks or toppers. For a playful twist, serve them with cookie crumbs scattered on the plate, making every serving look like the Cookie Monster’s dream dessert buffet.
Make Ahead and Storage
Storing Leftovers
Leftover Cookie Monster Cheesecakes keep beautifully in an airtight container in the refrigerator for up to 3 days. This gives you plenty of time to enjoy them slowly or share with friends without losing that just-baked freshness.
Freezing
If you want to prepare these cheesecakes well in advance, freeze them (without toppings) in a single layer on a baking sheet before transferring to a freezer-safe container or bag. They’ll keep for up to 1 month, and when you’re ready, thaw them overnight in the fridge. You can then add your whipped cream and garnishes fresh before serving.
Reheating
Cheesecake is best enjoyed chilled, so reheating isn’t usually necessary or recommended. However, if you prefer, allow frozen cheesecakes to thaw completely in the refrigerator; avoid microwaving as this can cause cracking or alter texture dramatically.
FAQs
Can I use regular food coloring instead of gel?
While you can, gel food coloring is preferred because it provides a vibrant blue color without adding extra liquid to the batter, which could affect the texture of your cheesecakes.
What if I don’t have mini chocolate chip cookies?
No worries! You can substitute with finely chopped regular chocolate chip cookies or even add some mini chocolate chips alone to maintain that delightful cookie crunch.
Do I need to use sour cream in the filling?
Sour cream adds moisture and a slight tang that enhances the flavor and creaminess. If you don’t have it, Greek yogurt can be a good substitute, but try to keep it to a similar quantity.
Why do my cheesecakes crack sometimes?
Cracking usually happens if the batter is overmixed after the eggs are added or the oven temperature is too high. Make sure to mix gently and bake at the recommended temperature for best results in this Cookie Monster Cheesecake Recipe.
Can I make this recipe into one large cheesecake?
Absolutely! Just adjust the baking time accordingly and use a springform pan. Keep an eye on it to ensure the center sets with a slight jiggle before removing from the oven.
Final Thoughts
Making the Cookie Monster Cheesecake Recipe is not just about baking; it’s about creating a joyful, colorful dessert that brings smiles and happy memories. Whether for a party, a special occasion, or just to brighten your day, these mini cheesecakes are guaranteed to impress with their fun appearance and irresistible flavor. So roll up your sleeves, get baking, and treat yourself and your loved ones to a truly delightful Cookie Monster experience!
Print
Cookie Monster Cheesecake Recipe
- Prep Time: 20 minutes
- Cook Time: 20 minutes
- Total Time: 40 minutes (plus at least 4 hours chilling time)
- Yield: 12 mini cheesecakes
- Category: Dessert
- Method: Baking
- Cuisine: American
- Diet: Vegetarian
Description
Indulge in whimsical delight with this Cookie Monster Cheesecake recipe featuring a vibrant blue, creamy filling studded with chocolate chip cookies and nestled in a rich chocolate sandwich cookie crust. Perfectly portioned as mini cheesecakes, this dessert is ideal for kids’ parties or any fun occasion, topped with whipped cream and extra cookie crumbles for an irresistible treat.
Ingredients
For the crust:
- 1 1/2 cups crushed chocolate sandwich cookies (like Oreos)
- 4 tablespoons unsalted butter, melted
For the filling:
- 16 ounces cream cheese, softened
- 1/2 cup granulated sugar
- 1/4 cup sour cream
- 1 teaspoon vanilla extract
- 2 large eggs
- 1/4 teaspoon salt
- Blue gel food coloring (as needed)
- 1/2 cup mini chocolate chip cookies
- 1/2 cup crushed chocolate chip cookies
- 1/4 cup mini chocolate chips
For the topping:
- Whipped cream
- Additional crushed cookies
- Whole mini cookies for garnish (optional)
Instructions
- Prepare and bake crust: Preheat the oven to 325°F and line a muffin tin with 12 cupcake liners. In a bowl, mix the crushed sandwich cookies with the melted butter until the mixture resembles wet sand. Press about 1 tablespoon of this crust mixture firmly into the bottom of each cupcake liner. Bake for 5 minutes, then remove and set aside to cool.
- Make the cheesecake filling: In a large bowl, beat the cream cheese until smooth and creamy. Add the granulated sugar and mix well to combine. Beat in the sour cream, vanilla extract, and salt. Add the eggs one at a time, beating just until combined after each addition to avoid overmixing.
- Add color and mix-ins: Slowly stir in blue gel food coloring a little at a time until the desired Cookie Monster blue shade is reached. Gently fold in the mini chocolate chip cookies, crushed chocolate chip cookies, and mini chocolate chips into the batter.
- Fill and bake: Evenly divide the cheesecake batter among the prepared cupcake liners over the cooled crusts. Bake in the preheated oven for 18 to 22 minutes, or until the centers are set but still slightly jiggly.
- Cool and chill: Allow the mini cheesecakes to cool completely at room temperature. Once cooled, refrigerate them for at least 4 hours or preferably overnight to set fully.
- Serve with toppings: Before serving, top each mini cheesecake with a dollop of whipped cream, additional crushed cookies, and whole mini cookies as garnish if desired.
Notes
- Use gel food coloring to achieve a vibrant blue hue without thinning the batter.
- Avoid overmixing after adding eggs to prevent cracking in the cheesecakes.
- These mini cheesecakes can be frozen for up to 1 month if stored without toppings.

