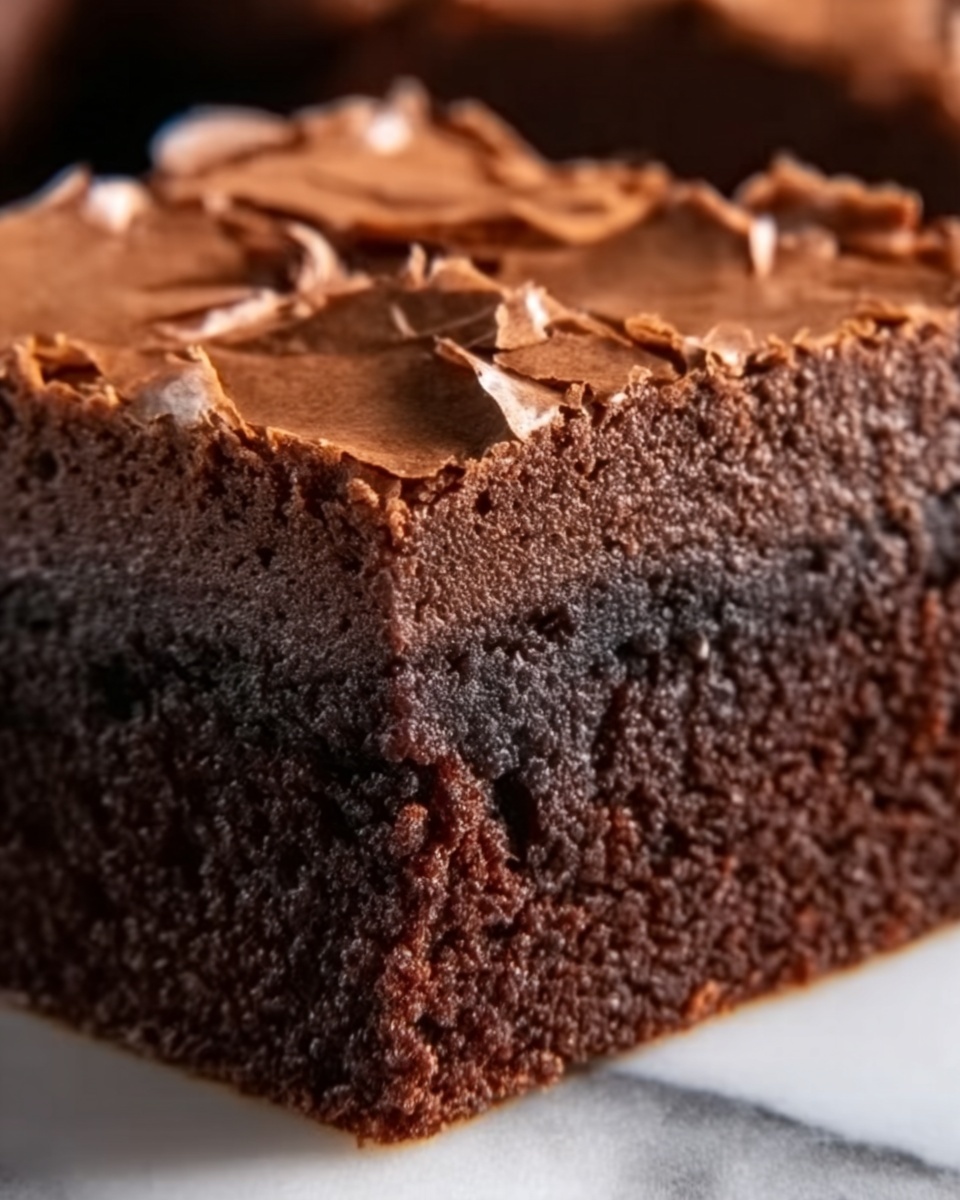
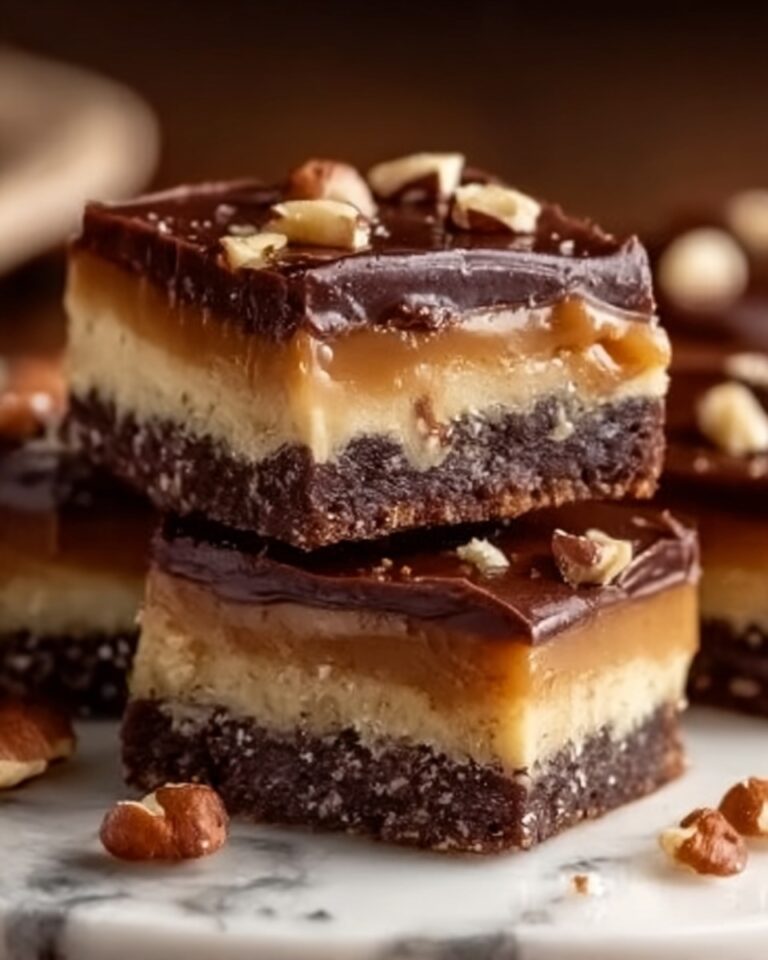
If you love the idea of fudgy, rich brownies with a unique twist, then you’re going to adore this Dr. Pepper Brownies Recipe. This clever recipe uses the unexpected addition of Dr. Pepper soda to create a deep, complex flavor and moist texture that transforms a classic dessert into something truly unforgettable. The subtle fruity and spicy notes from the soda complement the chocolate perfectly, making every bite a delightful surprise. Whether you’re baking for a crowd or just treating yourself, these brownies are sure to become a fast favorite.
Ingredients You’ll Need
Gathering a handful of everyday ingredients is all it takes to create these magical brownies. Each element plays an important role in building the perfect balance of moisture, sweetness, and chocolatey goodness.
- Dr. Pepper soda: Adds a unique blend of fruity and spicy undertones that deepen the brownie’s flavor.
- Unsalted butter, melted: Provides a rich, creamy base and helps with the fudgy texture.
- Granulated sugar: Sweetens the batter and adds tenderness.
- Brown sugar, packed: Contributes moisture and a subtle caramel flavor.
- Large eggs: Bind everything together and add richness.
- Vanilla extract: Enhances the chocolate notes and ties all the flavors together.
- All-purpose flour: Gives structure to the brownies without making them heavy.
- Cocoa powder: Brings the deep chocolate intensity.
- Baking powder: Helps with a slight lift so the brownies aren’t too dense.
- Salt: Balances sweetness and intensifies the chocolate flavor.
- Chocolate chips (optional): Adds bursts of melted chocolate for extra indulgence.
How to Make Dr. Pepper Brownies Recipe
Step 1: Prepare your baking pan and oven
Start by preheating your oven to 350°F (175°C). Grease a 9×9-inch baking pan and line it with parchment paper to ensure your brownies come out effortlessly when baked.
Step 2: Reduce Dr. Pepper and butter
In a medium saucepan over medium heat, combine the Dr. Pepper and melted butter. Stir occasionally and allow the mixture to simmer until it reduces by about half and begins to bubble. This reduction concentrates the flavor and adds a lovely syrupy thickness to the batter.
Step 3: Mix sugars, eggs, and vanilla
In a mixing bowl, whisk together the granulated sugar, brown sugar, eggs, and vanilla extract. Whisking this combination thoroughly ensures a smooth, well-aerated base for the brownies.
Step 4: Combine wet ingredients
Slowly pour the reduced Dr. Pepper and butter mixture into the sugar and egg mixture. Stir gently but thoroughly until everything is fully combined. The warmth and flavors will meld into a luscious, inviting batter at this stage.
Step 5: Add dry ingredients
Sift together the flour, cocoa powder, baking powder, and salt in a separate bowl. Gradually fold these dry ingredients into the wet mixture. Mixing carefully prevents overworking the batter, preserving that tender, fudgy texture.
Step 6: Stir in chocolate chips (optional)
If you love extra bursts of chocolate, fold in the chocolate chips now. They’ll melt slightly during baking, creating delicious pockets of gooey goodness.
Step 7: Bake the brownies
Pour the batter into your prepared baking pan and spread it evenly. Bake for 25 to 30 minutes, or until a toothpick inserted into the center comes out clean. The balance between fudgy and cakey texture happens in this perfect baking window.
Step 8: Cool and serve
Allow your Dr. Pepper brownies to cool completely in the pan before slicing. This lets them set perfectly and makes cutting easier, resulting in neat, beautiful squares of chocolaty magic.
How to Serve Dr. Pepper Brownies Recipe

Garnishes
A simple dusting of powdered sugar or a drizzle of caramel sauce can add an elegant touch to these brownies. For extra indulgence, a scoop of vanilla ice cream melting on top takes this dessert to an all-time favorite status.
Side Dishes
Pair your brownies with fresh berries or a dollop of whipped cream to balance the rich chocolate flavor. A strong cup of coffee or a creamy latte is another great companion, perfect for savoring each bite.
Creative Ways to Present
Try layering chunks of these brownies in a trifle with whipped cream and fruit for a stunning dessert presentation. Alternatively, cut them into small bite-sized pieces and serve on a festive platter for parties or potlucks.
Make Ahead and Storage
Storing Leftovers
Keep your brownies fresh by storing them in an airtight container at room temperature. They stay wonderfully moist and flavorful for up to 3 days, making them perfect for grabbing a quick, satisfying treat anytime.
Freezing
If you want to save them longer, wrap the brownies tightly in plastic wrap and foil, then place them in the freezer. Frozen brownies can last for up to 3 months and thaw quickly on the counter when you’re ready to enjoy.
Reheating
To bring the brownies back to their just-baked deliciousness, gently warm them in the microwave for about 10-15 seconds. They soften beautifully and the chocolate chips become melty again, just like fresh from the oven.
FAQs
Can I use diet or caffeine-free Dr. Pepper for this recipe?
Diet or caffeine-free versions can be used, but the flavor and texture might be slightly different. The sugars in regular Dr. Pepper contribute to the rich taste and moist texture of the brownies.
Do I have to use chocolate chips?
Chocolate chips are optional but highly recommended for extra bursts of melted chocolate. If you prefer, you can leave them out for a simpler version or swap with chunks of your favorite chocolate bar.
What if I don’t have cocoa powder? Can I use melted chocolate instead?
Cocoa powder is essential for the deep chocolate flavor and fudgy texture here. Using melted chocolate will alter the consistency, so it’s best to stick with cocoa powder unless you’re adapting the recipe entirely.
Can I make these brownies gluten-free?
To make this recipe gluten-free, substitute the all-purpose flour with a gluten-free flour blend that measures cup-for-cup. Make sure your baking powder is also gluten-free.
How do I know when the brownies are done baking?
They’re ready when a toothpick inserted in the center comes out with only a few moist crumbs attached, but not wet batter. Overbaking will dry them out, so keep an eye on that timer.
Final Thoughts
There is something truly special about this Dr. Pepper Brownies Recipe that makes it stand out from everyday brownies. The magic of the soda infusion, paired with rich cocoa and melty chocolate, creates an irresistible treat that your friends and family will rave about. I hope you give these brownies a try and discover just how delightfully delicious a little twist can be.
Print
Dr. Pepper Brownies Recipe
- Prep Time: 15 minutes
- Cook Time: 30 minutes
- Total Time: 45 minutes
- Yield: 16 servings
- Category: Dessert
- Method: Baking
- Cuisine: American
Description
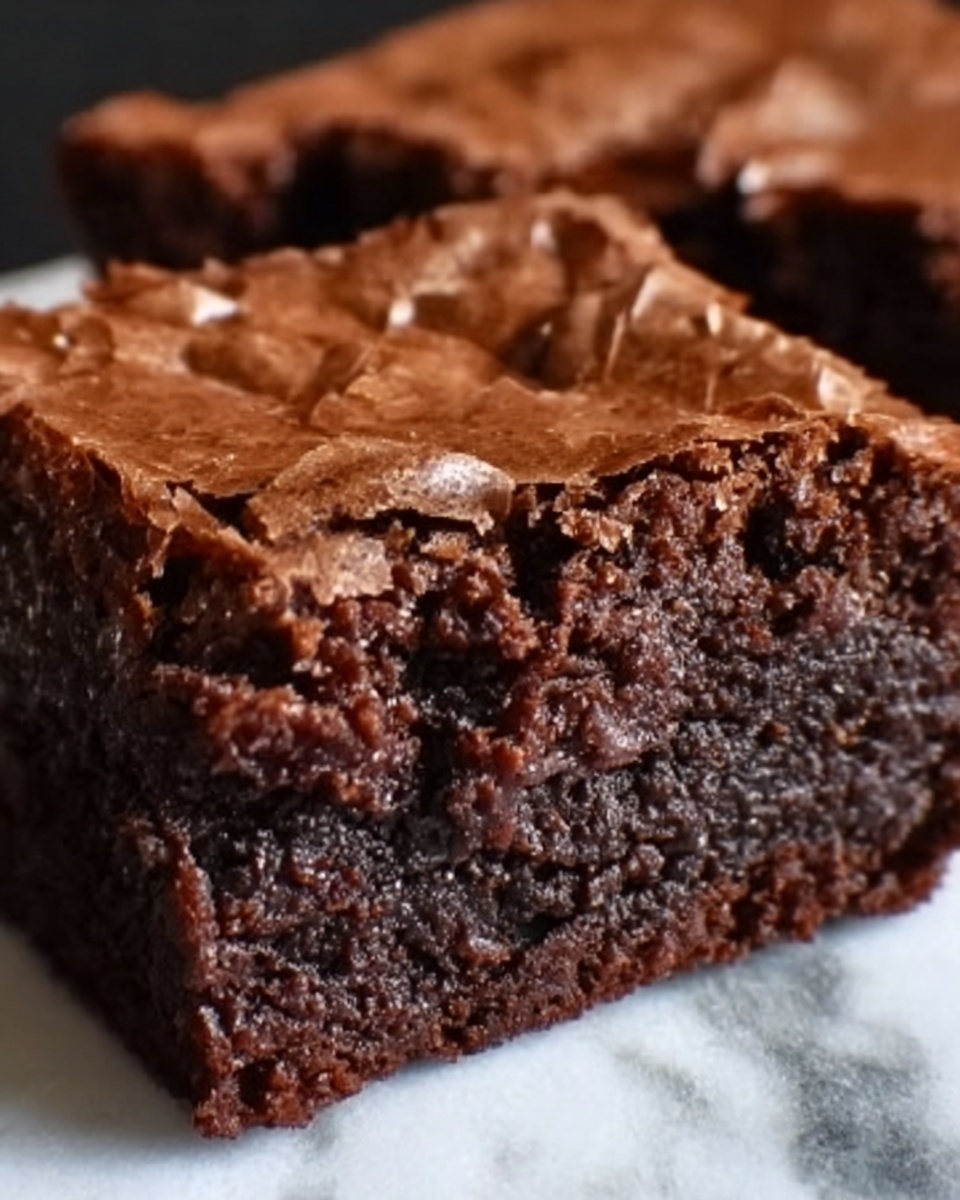
Dr. Pepper Brownies are a unique, flavorful twist on classic brownies, featuring the sweet and slightly spicy notes of Dr. Pepper soda. This recipe uses the soda reduced with melted butter to infuse the batter, resulting in moist, rich brownies that balance chocolatey goodness with a hint of soda fizz. Perfect for a fun dessert or a crowd-pleasing treat.
Ingredients
Wet Ingredients
- 1 cup Dr. Pepper soda
- 1/2 cup unsalted butter, melted
- 1/2 cup granulated sugar
- 1 cup brown sugar, packed
- 2 large eggs
- 1 tsp vanilla extract
Dry Ingredients
- 1 cup all-purpose flour
- 1/2 cup cocoa powder
- 1/2 tsp baking powder
- 1/4 tsp salt
Optional
- 1/2 cup chocolate chips
Instructions
- Preheat Oven and Prepare Pan: Preheat your oven to 350°F (175°C). Grease and line a 9×9-inch baking pan with parchment paper to ensure the brownies don’t stick and are easy to remove.
- Reduce Dr. Pepper and Butter: In a medium saucepan, combine the Dr. Pepper soda and melted butter. Heat over medium heat, stirring occasionally, until the mixture begins to bubble and reduces by about half, which should take roughly 10 minutes. This step concentrates the flavor and evaporates excess liquid.
- Mix Sugars and Eggs: In a separate mixing bowl, whisk together the granulated sugar, brown sugar, eggs, and vanilla extract until smooth and well combined, creating a creamy base for the brownies.
- Combine Reduced Soda Mixture: Slowly pour the reduced Dr. Pepper and butter mixture into the sugar and egg mixture, stirring constantly to incorporate it evenly without curdling.
- Sift and Add Dry Ingredients: In another bowl, sift together the all-purpose flour, cocoa powder, baking powder, and salt. Gradually add these dry ingredients to the wet mixture, folding gently until the batter is fully incorporated and smooth.
- Add Chocolate Chips (Optional): Stir in the chocolate chips to add extra richness and texture to your brownies.
- Pour Batter into Pan: Pour the batter into the prepared baking pan, spreading it evenly with a spatula for uniform baking.
- Bake: Place the pan in the preheated oven and bake for 25-30 minutes. Check for doneness by inserting a toothpick into the center; it should come out clean or with just a few moist crumbs attached.
- Cool and Serve: Allow the brownies to cool completely in the pan before slicing into squares. This makes cutting easier and helps the brownies set and develop their full flavor.
Notes
- Reducing the Dr. Pepper concentrates the flavor and ensures the brownies are moist but not soggy.
- Use parchment paper for easier removal and cleaner cuts.
- Chocolate chips are optional but add richness and texture.
- Check baking time as ovens can vary; start checking at 25 minutes.
- Let brownies cool fully before cutting to prevent crumbling.
