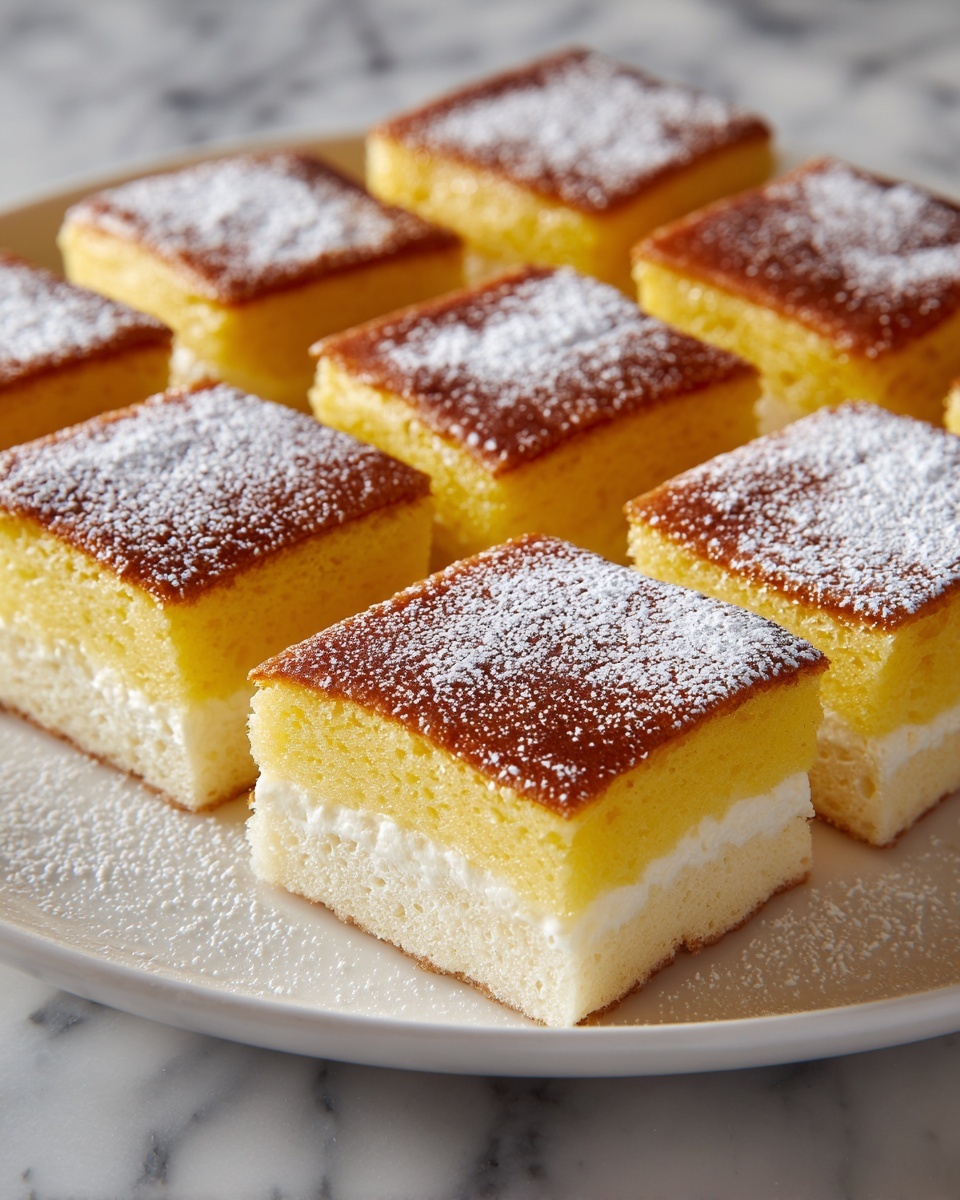
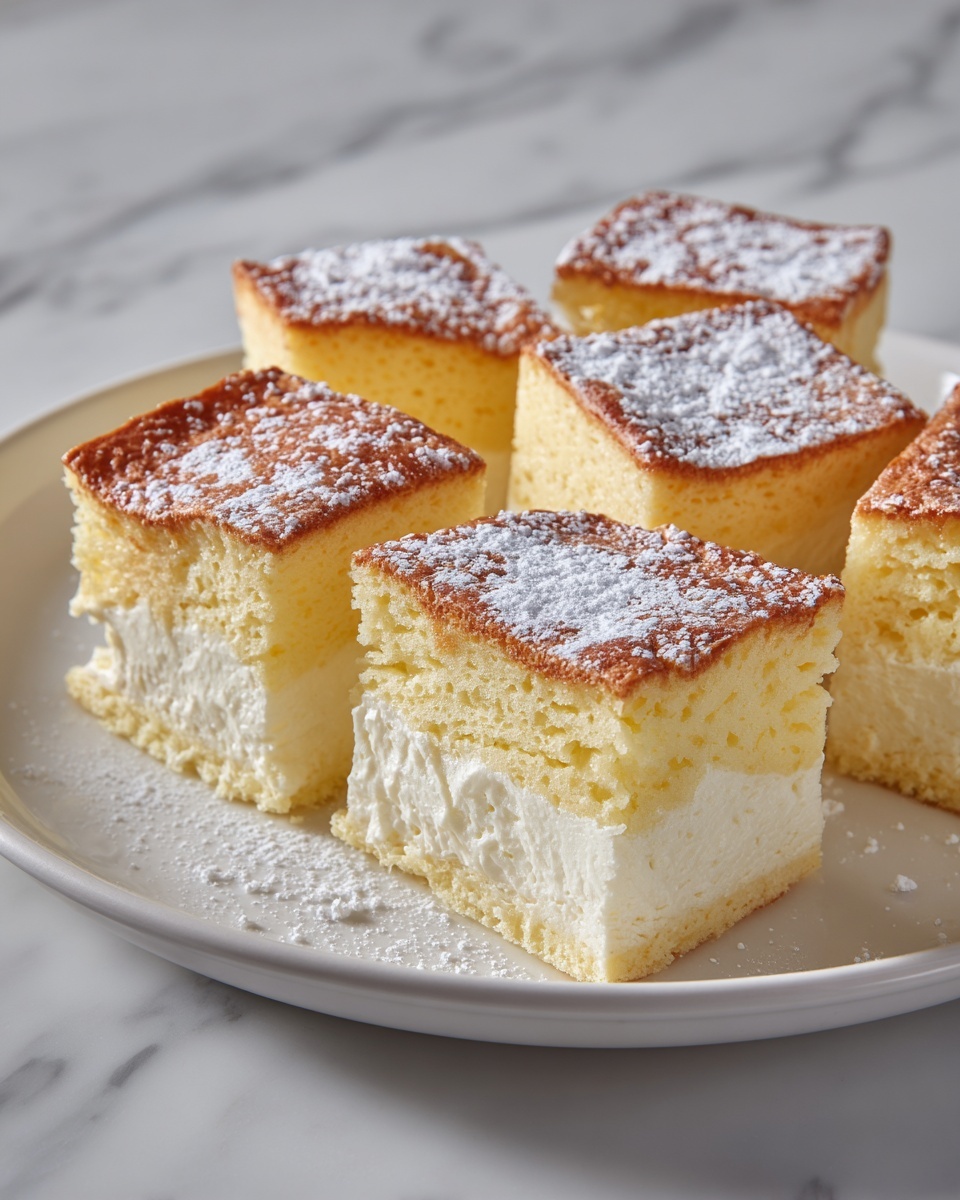
There is something utterly magical about the chewy, buttery texture of this Hawaiian Butter Mochi Recipe that makes it an unforgettable treat. This beloved dessert combines the creamy richness of butter and coconut milk with the uniquely satisfying chewiness of sweet rice flour. Each bite melts in your mouth with a perfect balance of sweetness and subtle vanilla undertones, making it an irresistible crowd-pleaser whether you’re serving it at a family gathering or just craving a delicious homemade snack.
Ingredients You’ll Need
Gathering the right ingredients for this Hawaiian Butter Mochi Recipe is wonderfully simple, yet each element plays a crucial role in creating that signature texture and flavor. From the sweet rice flour that gives mochi its chew to the creamy coconut milk and rich butter that create moistness and depth, these essentials come together like a dream.
- Sweet rice flour (mochiko): This is the heart of the mochi, lending its unique chewy texture that no other flour can replicate.
- Sugar: Balances the coconut and butter with just the right level of sweetness to satisfy your cravings.
- Baking powder: Adds a gentle lift and prevents the mochi from being too dense.
- Salt: Enhances all the flavors and keeps the sweetness from feeling flat.
- Unsalted butter, melted: Brings a rich, creamy flavor and lovely moistness to every bite.
- Coconut milk: Infuses a tropical creaminess that makes this mochi uniquely Hawaiian.
- Eggs: Bind the ingredients and add structure for a perfect firm but tender mochi.
- Vanilla extract: Adds a warm aromatic note that rounds out the tropical flavors beautifully.
- Whole milk: Balances the coconut milk and keeps the batter silky and smooth.
How to Make Hawaiian Butter Mochi Recipe
Step 1: Preheat and Prepare Your Pan
Start off on the right foot by heating your oven to 350°F (175°C). Prepare a 9×9-inch baking pan by either greasing it thoroughly or lining it with parchment paper. This ensures your mochi comes out beautifully clean and easy to slice once baked.
Step 2: Mix the Dry Ingredients
In a medium bowl, whisk together the sweet rice flour, sugar, baking powder, and salt. This dry mix is the foundation, where the chewy magic begins. Make sure these are well combined to evenly distribute the leavening and flavor throughout.
Step 3: Combine the Wet Ingredients
In another bowl, beat the eggs until smooth, then stir in the melted butter, coconut milk, vanilla extract, and whole milk. This mix brings all the rich and creamy goodness that will contrast wonderfully with the denseness of the mochi texture.
Step 4: Blend Wet and Dry Ingredients
Gradually add the wet mixture into the dry ingredients, stirring gently until your batter becomes smooth and fully incorporated. The consistency should be pourable but thick enough to hold its shape as it bakes.
Step 5: Pour and Bake
Transfer the batter to your prepared pan, smoothing the surface with a spatula for even cooking. Pop it into the oven and bake for 50 to 55 minutes. You’ll know it’s ready when the top turns golden brown and a toothpick inserted in the middle comes out clean.
Step 6: Cool and Slice
Patience is key here! Let your mochi cool completely before slicing it into perfect squares. This cooling step lets the flavors meld and the texture set just right for that classic Hawaiian Butter Mochi bite.
How to Serve Hawaiian Butter Mochi Recipe
Garnishes
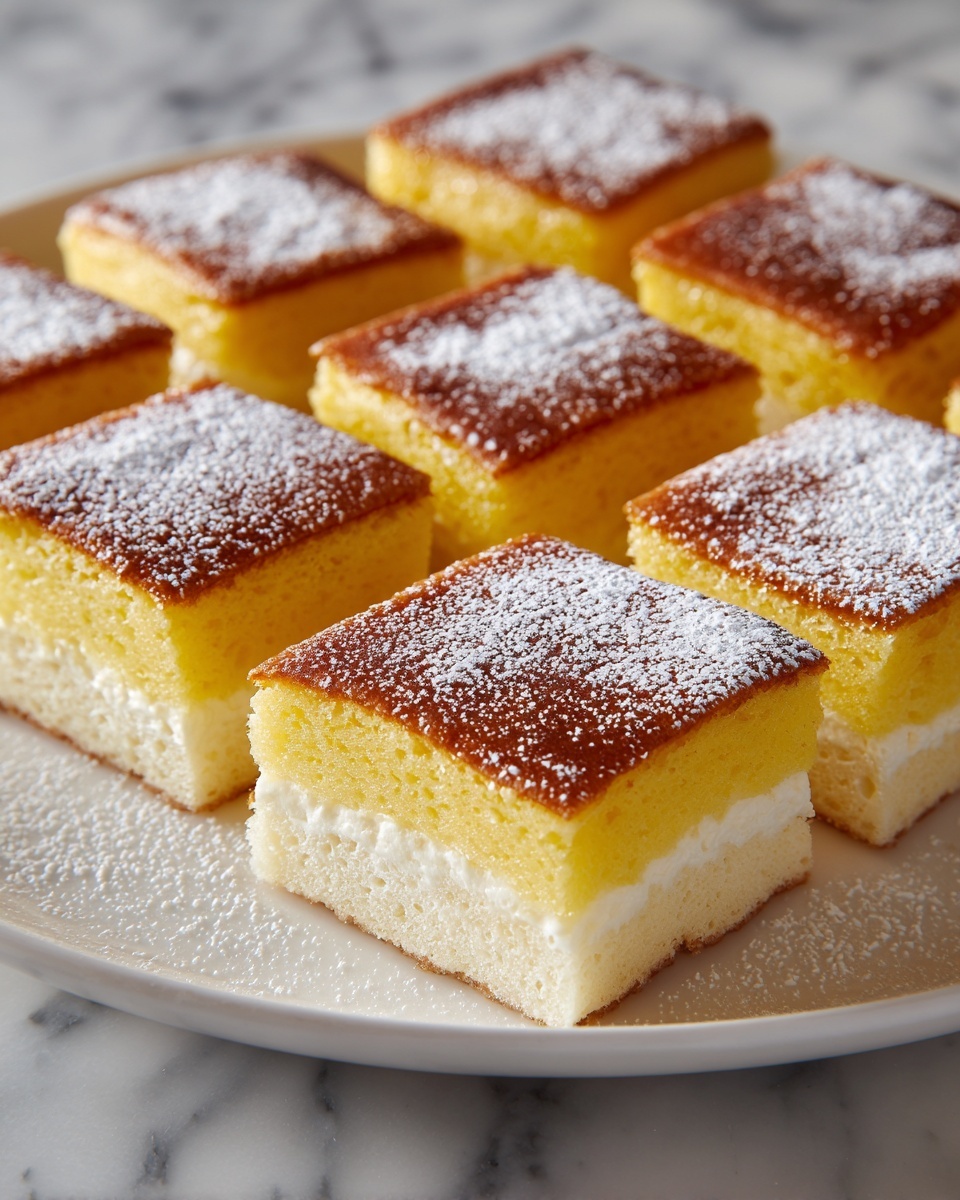
While Hawaiian Butter Mochi is divine on its own, a sprinkle of toasted coconut flakes or a dusting of powdered sugar can elevate it even further. For a richer treat, drizzle some homemade coconut caramel sauce over the top—your guests will love the gorgeous tropical flair!
Side Dishes
This mochi pairs wonderfully with a cup of strong coffee or a refreshing tropical tea. Consider serving it alongside fresh pineapple or mango slices to keep the Hawaiian theme alive and add some vibrant freshness to your dessert plate.
Creative Ways to Present
Try stacking the mochi squares into a neat pyramid or cutting them into bite-sized cubes for easy serving at a party. You could also use cookie cutters to shape mochi into hearts or flowers, making the dish perfect for special celebrations or gift-giving.
Make Ahead and Storage
Storing Leftovers
If you find yourself with leftovers, store the mochi in an airtight container at room temperature for up to two days. This keeps the texture tender and the flavors fresh without losing that signature chew.
Freezing
You can absolutely freeze Hawaiian Butter Mochi! Wrap each piece tightly in plastic wrap then place them in a freezer-safe bag or container. Frozen mochi stays good for up to one month, making it a convenient treat to enjoy later.
Reheating
To bring your mochi back to life, thaw overnight in the fridge or at room temperature. Warm individual pieces in the microwave for 15-20 seconds or gently reheat in a low oven wrapped in foil. This helps restore the buttery softness and chewy delight of freshly baked mochi.
FAQs
Can I use regular rice flour instead of sweet rice flour?
Sweet rice flour is essential for achieving the chewy texture that defines mochi, so regular rice flour won’t give the same result. Stick with mochiko flour for the best Hawaiian Butter Mochi Recipe experience.
Is there a dairy-free version of this recipe?
Yes! You can substitute the butter with coconut oil and use coconut milk instead of whole milk for a dairy-free Hawaiian Butter Mochi Recipe that’s still rich and delicious.
Can I make this recipe gluten-free?
Absolutely! Since sweet rice flour contains no gluten, this dessert is naturally gluten-free, making it a great choice for those with gluten sensitivities or celiac disease.
How chewy should the mochi be?
The mochi should have a pleasantly dense and chewy texture, but not too tough. If it feels too gummy, make sure you’ve baked it fully or adjust the baking time slightly next time.
Can I add flavors or mix-ins?
Definitely! Some folks enjoy adding shredded coconut, chocolate chips, or even bits of macadamia nuts to their batter for extra texture and flavor. Just fold them in gently before baking for a fun twist on the traditional treat.
Final Thoughts
There really isn’t anything quite like a slice of homemade Hawaiian Butter Mochi Recipe to brighten your day or bring a little island sunshine to your kitchen. It’s a perfect blend of texture and flavor that feels like a warm hug in dessert form. I promise, once you try making this recipe, you’ll be hooked for life—so gather those simple ingredients and let the joyful baking begin!
Print
Hawaiian Butter Mochi Recipe
- Prep Time: 15 minutes
- Cook Time: 50-55 minutes
- Total Time: 1 hour 5 minutes
- Yield: 16 servings
- Category: Dessert
- Method: Baking
- Cuisine: Hawaiian
Description
This Hawaiian Butter Mochi recipe offers a chewy, buttery treat with a subtle coconut flavor, baked to golden perfection. Made with sweet rice flour and coconut milk, it delivers a delightful texture reminiscent of traditional mochi with a rich, buttery twist. Perfect for sharing, this dessert yields 16 delicious squares that are sure to satisfy your sweet tooth.
Ingredients
Dry Ingredients
- 1 cup sweet rice flour (mochiko)
- 1 cup sugar
- 1 1/2 teaspoons baking powder
- 1/4 teaspoon salt
Wet Ingredients
- 1/2 cup unsalted butter, melted
- 1 cup coconut milk
- 2 large eggs
- 1 teaspoon vanilla extract
- 1/2 cup whole milk
Instructions
- Preheat the oven: Set your oven to 350°F (175°C). Prepare a 9×9-inch baking pan by greasing it well or lining it with parchment paper for easy removal of the mochi after baking.
- Mix dry ingredients: In a medium bowl, whisk together the sweet rice flour, sugar, baking powder, and salt until evenly combined. This will ensure consistent texture and sweetness throughout the mochi.
- Prepare wet ingredients: In another bowl, beat the two large eggs thoroughly. Then add in the melted unsalted butter, coconut milk, vanilla extract, and whole milk, stirring until the mixture is smooth and well blended.
- Combine wet and dry: Gradually pour the wet ingredients into the dry ingredients, mixing gently but thoroughly until you get a smooth, uniform batter without lumps.
- Pour batter into pan: Transfer the batter into the prepared baking pan. Use a spatula to spread and smooth the surface evenly to ensure even baking.
- Bake: Place the pan in the preheated oven and bake for 50 to 55 minutes. The mochi is done when the top turns golden brown and a toothpick inserted into the center comes out clean.
- Cool and serve: Remove the mochi from the oven and let it cool completely in the pan. Once cooled, slice into 16 squares and serve. Enjoy this deliciously chewy and buttery dessert!
Notes
- For best results, use sweet rice flour (mochiko) which is essential for achieving the traditional chewy texture.
- You can substitute whole milk with any other milk of your choice, but whole milk helps keep the mochi moist and tender.
- Make sure the mochi cools completely before slicing to prevent it from becoming too sticky or falling apart.
- This mochi can be stored in an airtight container at room temperature for up to 2 days or refrigerated for up to 5 days.
- Reheat gently before serving for a soft, warm experience.

