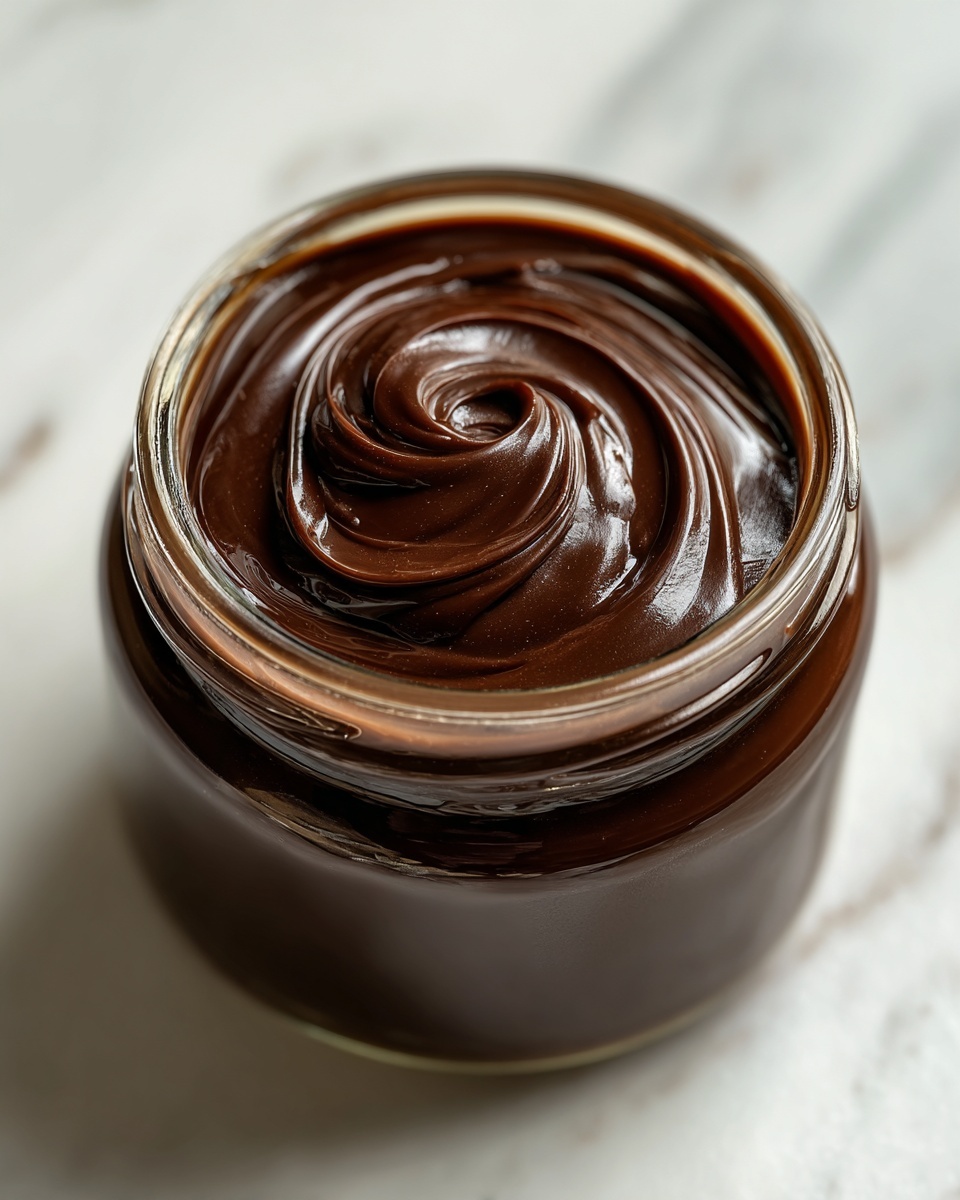
If you have ever wished for the perfect topping to elevate your ice cream, milkshakes, or even your morning cup of coffee, this Homemade Chocolate Syrup Recipe is an absolute game-changer. Rich, silky, and effortlessly chocolatey, it’s the kind of syrup that makes you want to savor every drizzle. And the best part? You can make it at home with pantry staples, knowing exactly what goes into it, and tweaking the flavor just the way you like. Let me walk you through why this syrup ought to become your new favorite sweet indulgence.
Ingredients You’ll Need
The magic of this Homemade Chocolate Syrup Recipe starts with a handful of simple but essential ingredients. Each one plays a starring role, from giving the syrup its deep chocolate color to balancing sweetness and adding a layer of complexity.
- Unsweetened cocoa powder: The heart and soul of the syrup, bringing intense, pure chocolate flavor without any added sugar.
- Water: Vital for dissolving the cocoa and sugar, creating that smooth syrupy texture you crave.
- Granulated sugar: Adds sweetness and helps the syrup thicken as it cooks, giving it that luscious body.
- Salt: Just a pinch enhances all the flavors, making the chocolate richer and more vibrant.
- Vanilla extract: Adds warmth and depth, rounding out the chocolate notes with a subtle floral touch.
- Instant coffee (optional): A secret weapon for boosting the chocolate intensity, making every bite more complex and satisfying.
How to Make Homemade Chocolate Syrup Recipe
Step 1: Combine Ingredients
Start by whisking together the unsweetened cocoa powder, granulated sugar, salt, and water in a medium saucepan. This step ensures everything is evenly distributed before any heat touches the mixture, setting the stage for a silky smooth syrup without lumps.
Step 2: Cook the Syrup
Place the saucepan over medium heat and bring your mixture to a gentle simmer. Stir constantly during this process to prevent the sugar or cocoa from sticking to the pan and burning. This attentive cooking develops the syrup’s velvety texture while intensifying the chocolate flavor.
Step 3: Thicken the Syrup
Once simmering, reduce the heat to low and continue cooking the syrup for 3 to 5 minutes. This simmering time allows the syrup to thicken just enough so it clings beautifully to whatever you pour it on. Keep the stirring rhythm steady and patient—this is where magic happens.
Step 4: Add Vanilla and Coffee
Remove the saucepan from the heat, then stir in the vanilla extract and optional instant coffee. The vanilla infuses the syrup with inviting aroma and depth, while the instant coffee elevates the chocolate notes without leaving a coffee taste, giving the syrup its irresistible richness.
Step 5: Cool and Store
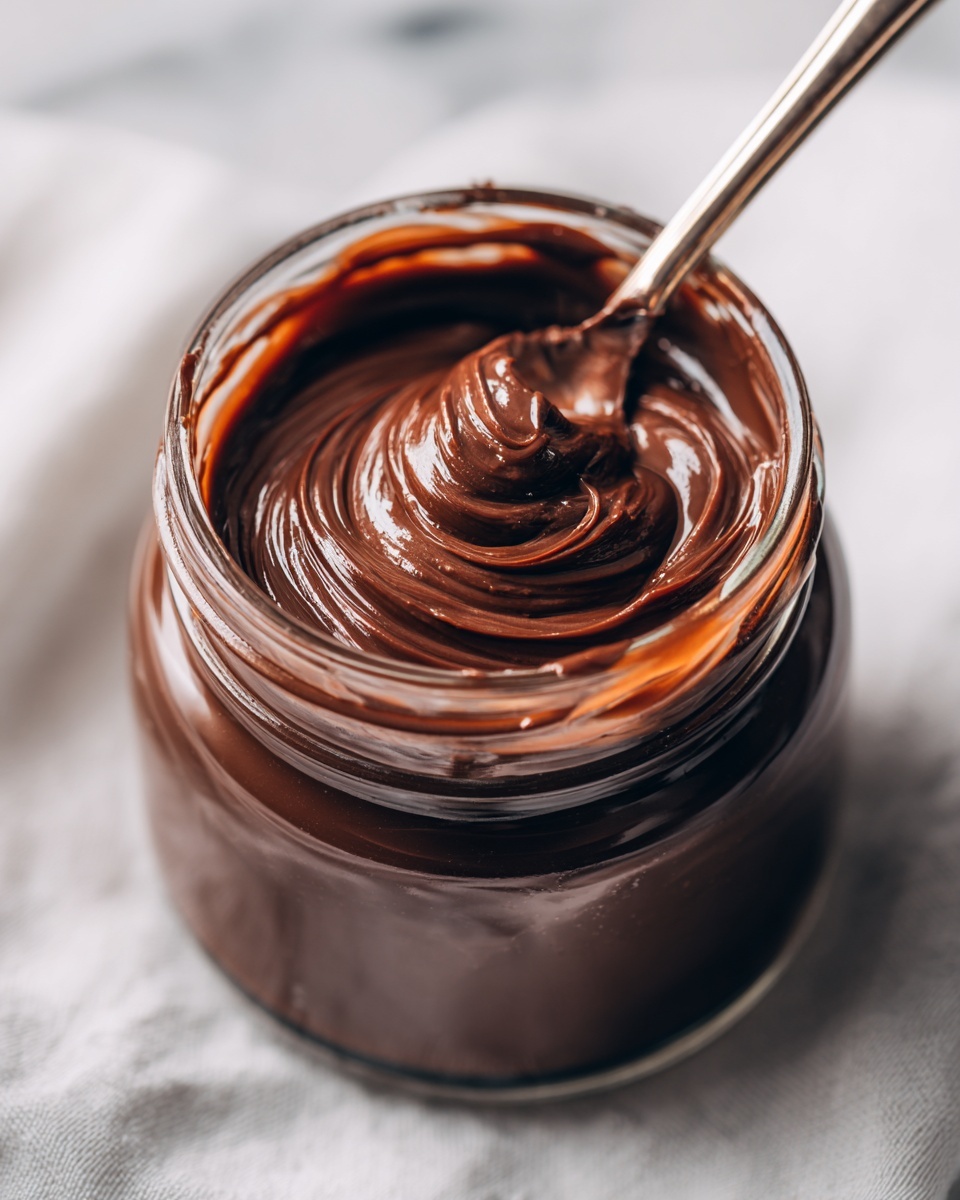
Allow the syrup to cool to room temperature before transferring it to a clean jar or bottle. Cooling helps the syrup thicken further and makes storage safer. Store your homemade chocolate syrup in the refrigerator, where it will keep beautifully for up to three weeks.
Step 6: Serve and Enjoy
Your Homemade Chocolate Syrup Recipe is now ready for action! Drizzle it generously over ice cream, blend it into milk for a decadent chocolate drink, or use it to amplify your favorite desserts.
How to Serve Homemade Chocolate Syrup Recipe

Garnishes
Think beyond just pouring this syrup over your dessert. Splash some onto whipped cream for a glossy finish or drizzle thinly over fresh berries to add a chocolatey contrast. It also pairs wonderfully with toasted nuts sprinkled on top for an added crunch to balance the rich syrup.
Side Dishes
This syrup makes a dazzling companion to warm pancakes or waffles, turning an ordinary breakfast into a celebration. It also brings a luscious twist to plain yogurt or oatmeal, transforming those simple staples into something indulgent and chocolaty.
Creative Ways to Present
For a fun and interactive dessert, serve the syrup in small ramekins alongside fruit skewers, marshmallows, or pretzels for dipping. You can also swirl it into milkshakes or coffee for a stunning marbled effect that looks as good as it tastes.
Make Ahead and Storage
Storing Leftovers
Keep your leftover syrup in a sealed container in the refrigerator to maintain freshness. The syrup’s sugar content acts as a natural preservative, so it stays delicious for up to three weeks. Just give it a gentle shake or stir before using again.
Freezing
If you want to stash your syrup for longer, freezing is a practical option. Pour it into an airtight container, leaving some headspace for expansion. Thaw it overnight in the fridge and stir well before serving—the texture and taste hold up surprisingly well.
Reheating
To bring your syrup back from the fridge or freezer to pourable perfection, warm it gently in a microwave for 20-30 seconds or heat it softly in a saucepan over low heat. Stir frequently to prevent scorching and keep that irresistibly smooth finish.
FAQs
Can I use milk instead of water?
Using milk instead of water can make the syrup creamier and richer, but it may thicken more and require careful cooking to avoid scorching. Water keeps things light and classic.
Is the instant coffee necessary?
Not at all! The coffee is optional and only enhances the chocolate’s depth without adding noticeable coffee flavor, so feel free to skip it if you prefer.
How thick should the syrup be?
Ideal syrup consistency is pourable yet thick enough to coat the back of a spoon. It should cling to desserts without being overly runny or too sticky.
Can this syrup be used for baking?
Absolutely! It’s a versatile syrup great for drizzling over cakes, mixing into batters, or swirled into frostings for an extra chocolate punch.
What’s the best way to sweeten the syrup if I want it less sweet?
You can reduce the granulated sugar slightly or experiment with natural sweeteners like honey or maple syrup, keeping in mind adjustments to cooking time may be needed.
Final Thoughts
There is something genuinely satisfying about making this Homemade Chocolate Syrup Recipe from scratch. It’s simple, quick, and transforms ordinary treats into unforgettable moments. So go ahead, whip up a batch and watch how this luscious syrup effortlessly becomes your new secret ingredient for happiness. You’ll wonder how you ever lived without it!
Print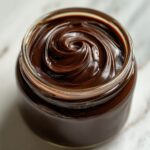
Homemade Chocolate Syrup Recipe
- Prep Time: 5 minutes
- Cook Time: 20 minutes
- Total Time: 25 minutes
- Yield: About 1 3/4 cups (serves 1 as dessert syrup; can be stored and used multiple servings)
- Category: Dessert Sauce
- Method: Stovetop
- Cuisine: American
Description
This homemade chocolate syrup recipe is a rich, versatile treat perfect for drizzling over ice cream, mixing into milk, or enhancing your favorite desserts. Made with unsweetened cocoa powder, sugar, and a hint of vanilla, it’s easy to prepare on the stovetop in about 25 minutes. The optional addition of instant coffee deepens the chocolate flavor, creating a luscious syrup that stores well in the refrigerator for up to three weeks.
Ingredients
Chocolate Syrup Ingredients
- 1 cup unsweetened cocoa powder
- 1 cup water
- 1 1/2 cups granulated sugar
- 1/4 tsp salt
- 1 tsp vanilla extract
- 1/4 tsp instant coffee (optional)
Instructions
- Combine Ingredients: In a medium saucepan, whisk together the cocoa powder, granulated sugar, salt, and water until the mixture is smooth and well combined.
- Cook the Syrup: Place the saucepan over medium heat and bring the mixture to a simmer, stirring constantly to prevent burning or clumping.
- Simmer and Thicken: Once it begins to simmer, reduce the heat to low and cook for 3 to 5 minutes while stirring occasionally, allowing the syrup to thicken slightly.
- Add Vanilla and Coffee: Remove the saucepan from heat and stir in the vanilla extract and the optional instant coffee to enhance the chocolate flavor.
- Cool and Store: Allow the syrup to cool to room temperature before transferring it to a jar or bottle for storage.
- Refrigerate: Store the syrup in the refrigerator where it will keep for up to three weeks.
- Serve: Drizzle the chocolate syrup over ice cream, mix it into milk, or use it as a delicious addition to your favorite desserts.
Notes
- Stir the mixture constantly during cooking to avoid burning the cocoa or sugar.
- Adjust the thickness by simmering longer for a thicker syrup or less time for a thinner consistency.
- The instant coffee is optional but recommended for a richer chocolate depth.
- Store the syrup in a sealed container in the refrigerator for best freshness.
- Shake or stir well before each use as natural settling may occur.


