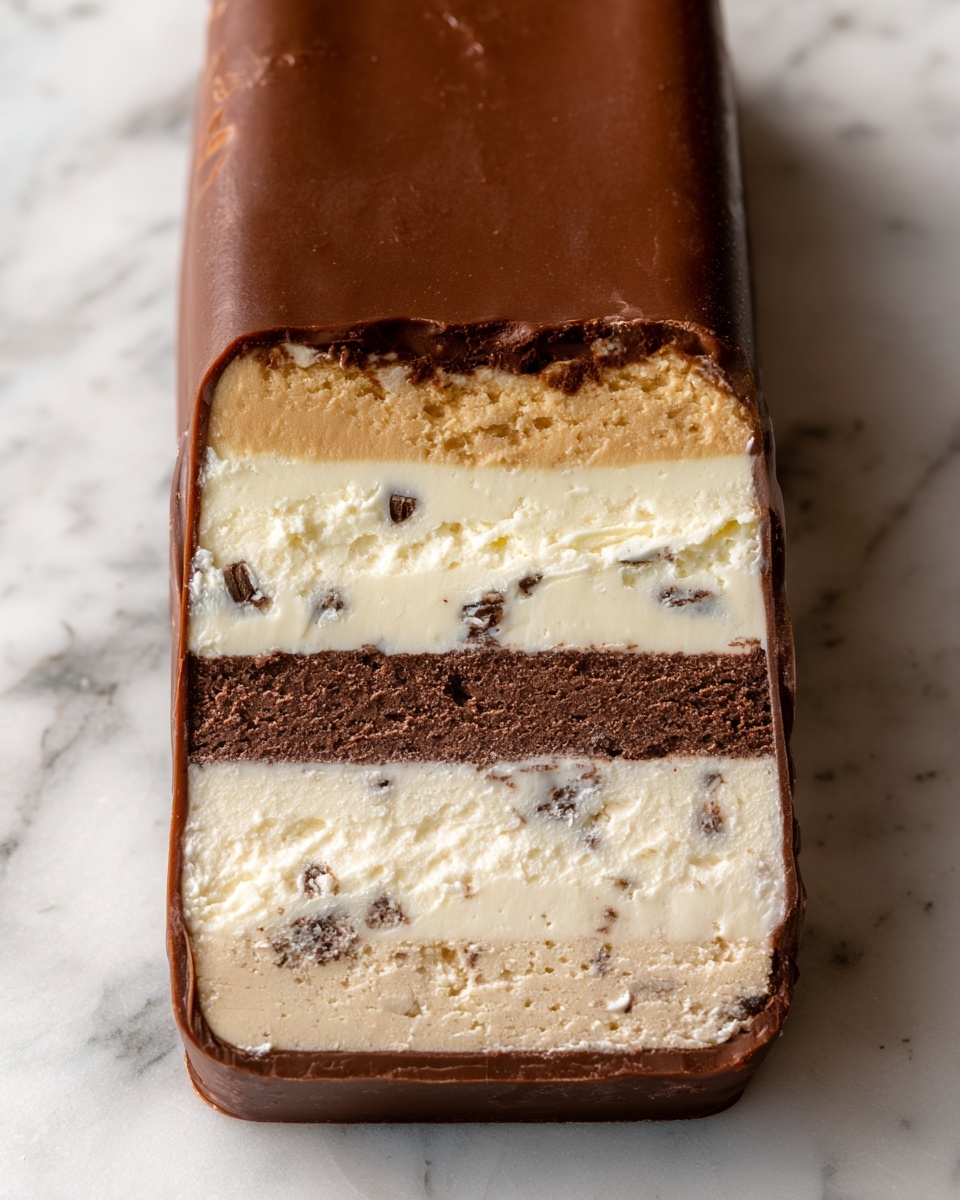
If you have a love for all things coffee and ice cream, then this Homemade Coffee Ice Cream Recipe is going to become your new obsession. Rich, creamy, and infused with the deep, bold flavor of brewed coffee, this ice cream strikes the perfect balance between sweet and slightly bitter. Creating it from scratch means you have complete control over the intensity of the coffee taste, the creaminess of the texture, and the smoothness on your tongue. It’s a treat that feels luxurious yet surprisingly simple to make, and once you try it, you’ll wonder why you ever settled for store-bought versions.
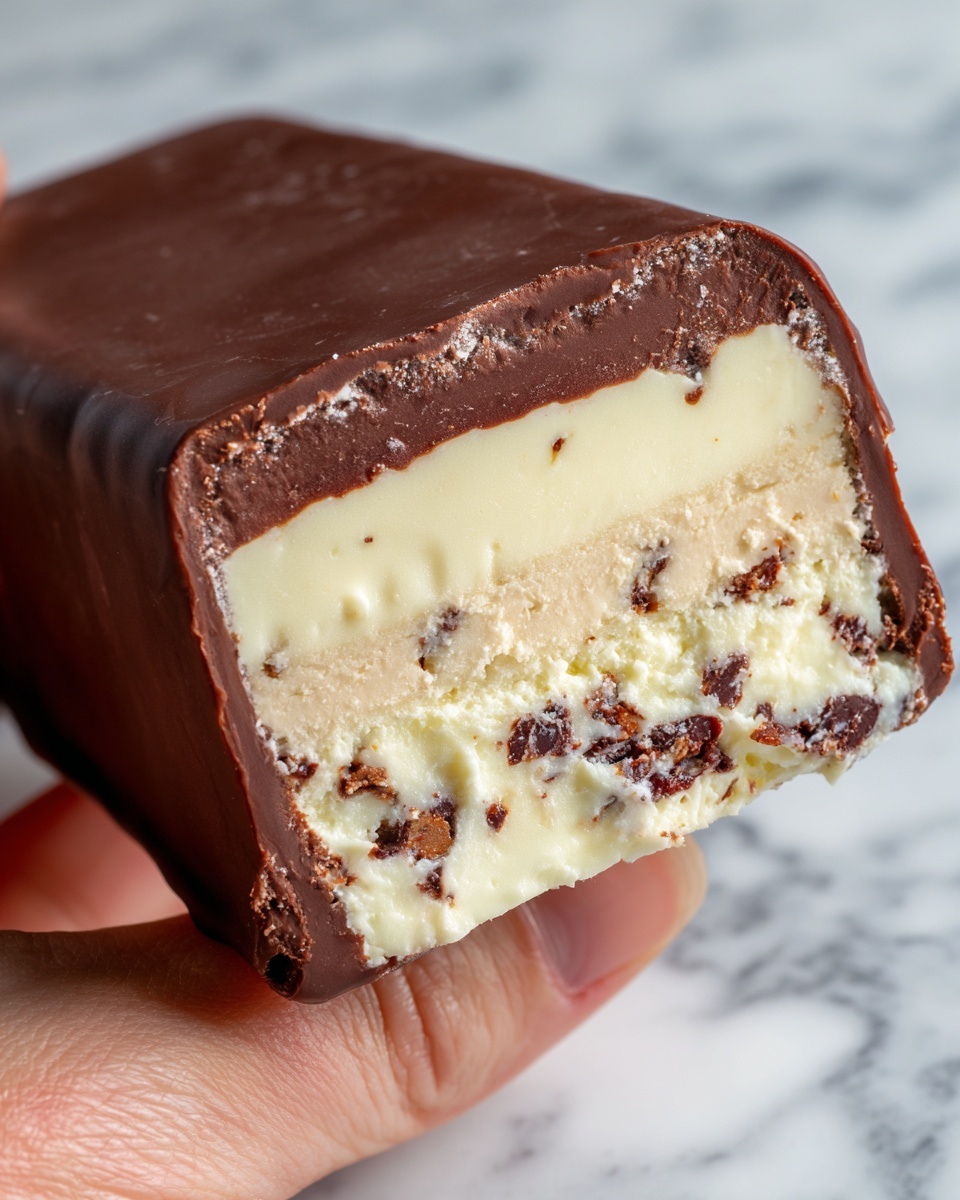
Ingredients You’ll Need
Gathering your ingredients is the first delightful step. Each one plays a crucial role, from lending that delicate creaminess to delivering a perfect coffee kick and silky texture. These essentials come together seamlessly to create the luscious custard base for your ice cream.
- 2 cups heavy cream: Provides rich creaminess that gives the ice cream its smooth texture.
- 1 cup whole milk: Lightens the cream slightly so the ice cream is creamy but not overly dense.
- 1 cup brewed strong coffee (cooled): The star ingredient that infuses the ice cream with robust coffee flavor.
- 3/4 cup granulated sugar: Sweetens the custard just enough to balance the natural bitterness of coffee.
- 4 large egg yolks: Create a luxurious, thick custard base that churns into creamy perfection.
- 1 teaspoon vanilla extract: Adds a subtle, aromatic depth and softens the coffee’s edge.
- Pinch of salt: Enhances all the flavors, making the coffee taste more vibrant.
How to Make Homemade Coffee Ice Cream Recipe
Step 1: Make the custard base
Start by combining the heavy cream, whole milk, and brewed coffee in a medium saucepan. Warm this mixture over medium heat just until it’s hot but not boiling. Stir occasionally to blend the flavors nicely, as this hot milk mixture will later marry beautifully with your egg yolks.
Step 2: Whisk the eggs
In a clean bowl, whisk together the egg yolks and granulated sugar until the mixture lightens in color and becomes slightly thickened. This process is essential to ensure your ice cream will have that dreamy custard texture.
Step 3: Temper the eggs
Slowly pour the hot milk and coffee mixture into the egg yolk mixture while whisking vigorously. This tempering process prevents the eggs from scrambling and allows for a smooth custard. It might take a few minutes, but patience here means silky ice cream later.
Step 4: Cook the custard
Pour the combined mixture back into the saucepan and cook over medium heat. Stir constantly with a wooden spoon or spatula, keeping your eyes on the pot. The custard needs to thicken enough to coat the back of the spoon, reaching around 170°F to 175°F (77°C to 80°C). Avoid boiling, which can curdle the eggs. When thickened, remove from heat.
Step 5: Cool the custard
Stir in the vanilla extract and a pinch of salt to brighten the flavors. Let the custard come to room temperature before covering and refrigerating it for at least 4 hours or overnight. A well-chilled custard makes for the best texture once churned.
Step 6: Churn the ice cream
Pour the chilled custard into your ice cream maker and follow the manufacturer’s instructions. Churning usually takes about 20 to 25 minutes, during which the mixture will thicken into a creamy soft-serve consistency that’s packed with that irresistible coffee aroma.
Step 7: Freeze
Transfer your churned ice cream into an airtight container and freeze it for at least 4 hours to develop a scoopable, firm texture. This final freezing step locks in that luscious density and enhances the flavor.
Step 8: Serve your Homemade Coffee Ice Cream Recipe
Scoop, smile, and savor your homemade creation! This is the moment you realize why making ice cream from scratch is so rewarding and delicious.
How to Serve Homemade Coffee Ice Cream Recipe
Garnishes
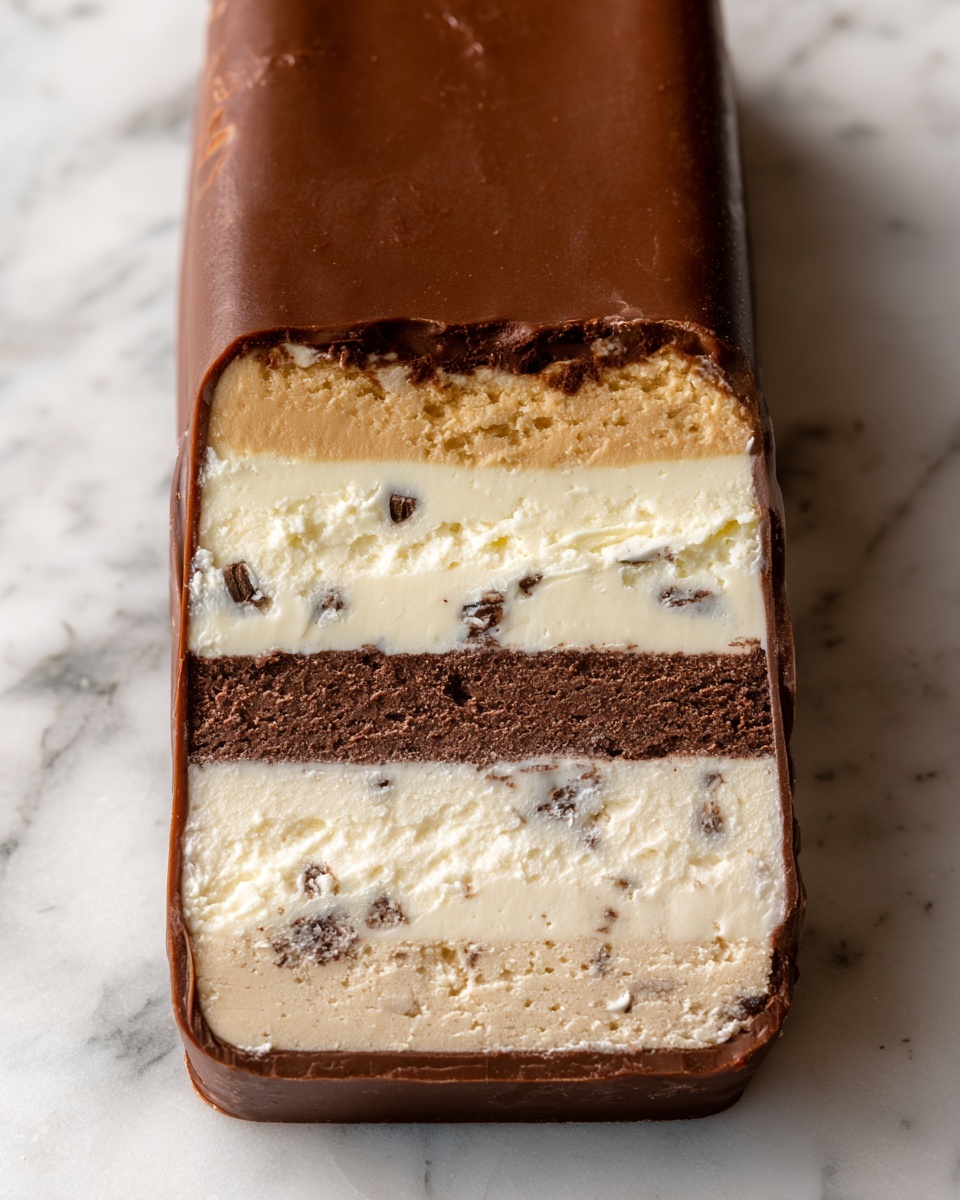
Enhance each scoop with creative garnishes to add texture and extra flavor layers. Crushed chocolate-covered espresso beans, a drizzle of caramel sauce, or even a sprinkle of cocoa powder can elevate your ice cream to dessert masterpiece status. Fresh mint leaves also add a refreshing contrast to coffee’s bold notes.
Side Dishes
Pair your coffee ice cream with desserts like warm brownies, chocolate lava cake, or crispy biscotti for dipping. Each bite creates a delightful contrast of temperatures and textures that makes your dessert experience unforgettable.
Creative Ways to Present
Try serving your ice cream in an espresso cup to keep with the coffee theme, or sandwich scoops between chocolate cookies for a homemade ice cream sandwich. Another fun idea is to top affogato-style with a shot of hot espresso poured right over the ice cream for an extra jolt of flavor.
Make Ahead and Storage
Storing Leftovers
If you’re lucky enough to have leftovers, keep your ice cream in an airtight container to prevent freezer burn and absorption of other odors. Bring your ice cream to the front of the freezer so it’s at the coldest point for longest-lasting freshness.
Freezing
Freeze your Homemade Coffee Ice Cream Recipe in a shallow container to speed up freezing and achieve even texture. Use a piece of parchment paper pressed onto the surface before sealing to minimize ice crystals for a smoother treat.
Reheating
While ice cream isn’t typically reheated, if it becomes too firm to scoop, let it sit at room temperature for 5 to 10 minutes. This allows it to soften slightly without losing its creamy integrity.
FAQs
Can I use instant coffee instead of brewed coffee?
Absolutely! Dissolve instant coffee granules in hot water to equal one cup and use it in place of brewed coffee. Just be mindful of intensity to keep balance in flavor.
Is it possible to make this recipe without an ice cream maker?
Yes, you can! Pour the custard into a shallow container and freeze, stirring every 30 minutes for the first 2-3 hours to break up ice crystals and mimic churning.
How long will the Homemade Coffee Ice Cream Recipe keep in the freezer?
Stored properly in an airtight container, it should stay fresh for up to 2 weeks. For best texture and flavor, enjoy within that time frame.
Can I substitute milk alternatives in this recipe?
You can experiment using creamy alternatives like coconut milk or almond milk, but keep in mind the flavor and texture might change. Heavy cream is key for richness, so consider maintaining some dairy for best results.
What is the role of the egg yolks in this recipe?
Egg yolks act as an emulsifier and help create that smooth, creamy custard texture that melts beautifully on your tongue, making the ice cream rich and velvety.
Final Thoughts
Making your own Homemade Coffee Ice Cream Recipe is not only incredibly rewarding but also downright delicious. It’s a true celebration of coffee flavor in a creamy dessert form that will impress your family and friends, or simply treat yourself to something special. So grab your ingredients, get churning, and prepare to fall in love with a coffee ice cream that’s better than anything you’ll find in a store.
Print
Homemade Coffee Ice Cream Recipe
- Prep Time: 20 minutes
- Cook Time: 15 minutes
- Total Time: 8 hours 35 minutes
- Yield: 1 quart (approximately 4 servings)
- Category: Dessert
- Method: Stovetop
- Cuisine: American
Description
This Homemade Coffee Ice Cream recipe creates a rich, creamy, and intensely flavored coffee dessert that combines brewed coffee with a classic custard base. Made with heavy cream, whole milk, egg yolks, and vanilla, the ice cream is churned to velvety perfection and then frozen to a firm consistency. A perfect treat for coffee lovers looking to enjoy their favorite beverage in a cool, creamy form.
Ingredients
Ice Cream Base
- 2 cups heavy cream
- 1 cup whole milk
- 1 cup brewed strong coffee, cooled
Custard Ingredients
- 3/4 cup granulated sugar
- 4 large egg yolks
- 1 teaspoon vanilla extract
- Pinch of salt
Instructions
- Make the custard base: In a medium saucepan, combine the heavy cream, whole milk, and brewed coffee. Heat the mixture over medium heat until it’s hot but not boiling, stirring occasionally to combine.
- Whisk the eggs: In a separate bowl, whisk together the egg yolks and sugar until the mixture becomes pale in color and slightly thickened.
- Temper the eggs: Gradually pour the hot milk mixture into the egg yolk mixture a little at a time while constantly whisking to prevent the eggs from scrambling.
- Cook the custard: Pour the combined mixture back into the saucepan and cook over medium heat, stirring constantly with a wooden spoon or spatula until it thickens enough to coat the back of the spoon (reaching 170°F-175°F or 77°C-80°C). Do not allow it to boil.
- Cool the custard: Remove from heat and stir in vanilla extract and a pinch of salt. Let the custard cool to room temperature, then refrigerate for at least 4 hours or overnight until fully chilled.
- Churn the ice cream: Pour the chilled custard into an ice cream maker and churn according to the manufacturer’s instructions until the mixture reaches a soft-serve texture, usually about 20-25 minutes.
- Freeze: Transfer the churned ice cream to an airtight container and freeze for at least 4 hours or until firm.
- Serve: Scoop the coffee ice cream into bowls or cones and enjoy immediately.
Notes
- Use freshly brewed strong coffee and let it cool completely before adding to the custard base for best flavor.
- Do not overheat the custard mixture to avoid curdling; keep the temperature below boiling.
- Chilling the custard thoroughly before churning ensures a smoother texture in the final ice cream.
- If you do not have an ice cream maker, pour the mixture into a shallow container and freeze, stirring every 30 minutes until firm for a no-churn method.

