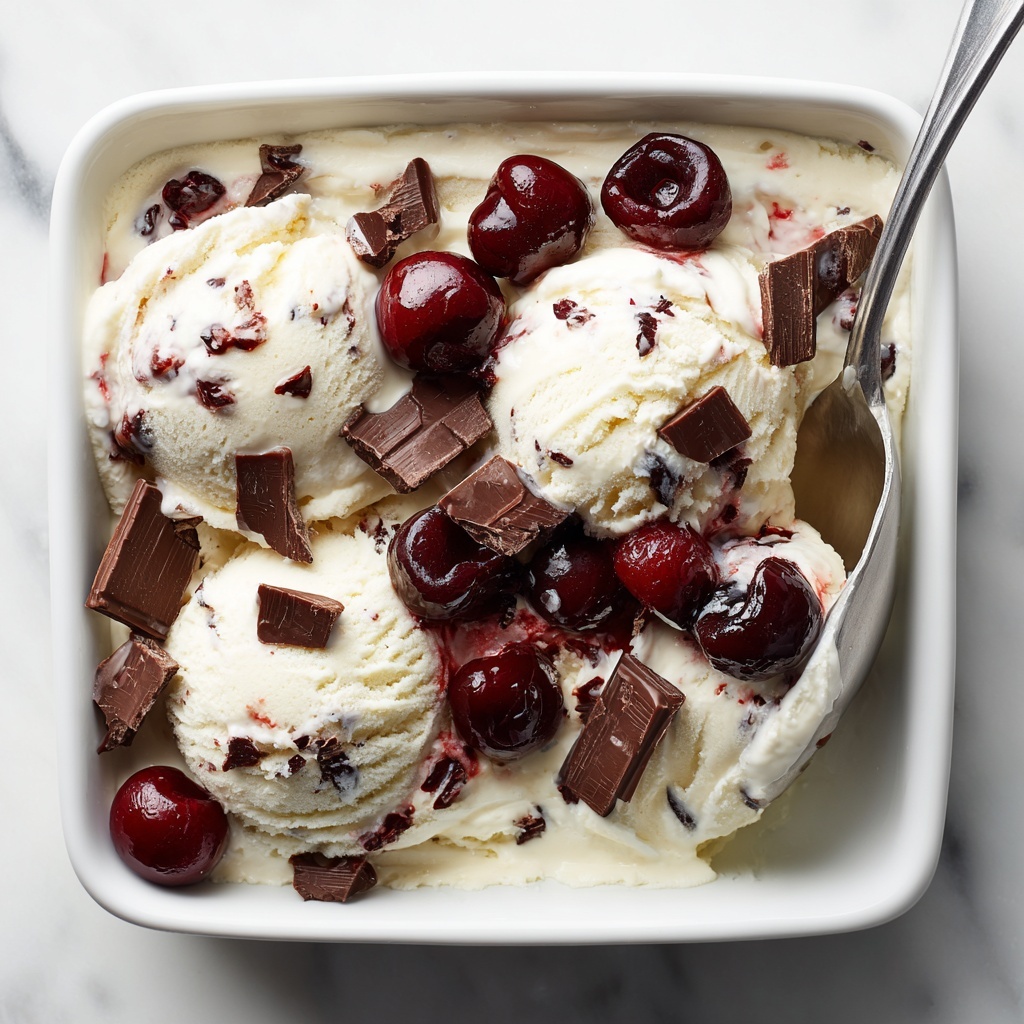
If you’re craving a luscious, creamy dessert that feels indulgent but is incredibly easy to make, this No-Churn Chocolate Cherry Ice Cream Recipe is an absolute game changer. Imagine rich, velvety chocolate swirled with juicy, vibrant cherries all coming together in a smooth, scoopable delight without ever needing an ice cream maker. It’s perfect for impressing friends or simply treating yourself on a warm afternoon when you want something sweet and refreshing with minimal fuss.
Ingredients You’ll Need
The beauty of this No-Churn Chocolate Cherry Ice Cream Recipe lies in its simplicity. Each ingredient has a purpose, whether it’s creating a creamy texture, adding natural sweetness, or boosting vibrant flavors, making this ice cream irresistible from the first bite.
- 16 oz carton whipping cream: Whipping cream forms the creamy base and gives the ice cream its rich, airy texture.
- 10 oz can sweetened condensed milk: Acts as the natural sweetener and stabilizer, eliminating the need for eggs or a churn.
- 1 teaspoon vanilla: Infuses warmth and depth, balancing the chocolate and cherry flavors.
- 1 cup cherries, pitted and chopped or quartered: Brings a burst of tartness and freshness, adding color and a juicy surprise in every spoonful.
- 1 cup dark chocolate, chopped or chunks: The star of indulgence — providing rich, bittersweet notes that complement the cherries perfectly.
How to Make No-Churn Chocolate Cherry Ice Cream Recipe
Step 1: Whip the Cream
Start by whipping the 16 ounces of whipping cream with a hand or stand mixer until stiff peaks form. This step is crucial because it adds the fluffy structure and lightness that make this ice cream so wonderfully creamy without any churning.
Step 2: Incorporate the Sweetened Condensed Milk and Vanilla
Next, gently add the sweetened condensed milk and vanilla extract into the whipped cream. Continue mixing on low speed just until everything is combined. This gives that perfect sweetness and rich base without overpowering the other flavors.
Step 3: Fold in the Cherries and Chocolate
Carefully fold the chopped cherries and dark chocolate chunks into the mixture. This ensures that every bite is dotted with juicy fruity bursts and decadent chocolate pieces, making the ice cream wonderfully textured and flavorful. Save a bit of the cherries and chocolate to sprinkle on top if you like.
Step 4: Freeze the Ice Cream
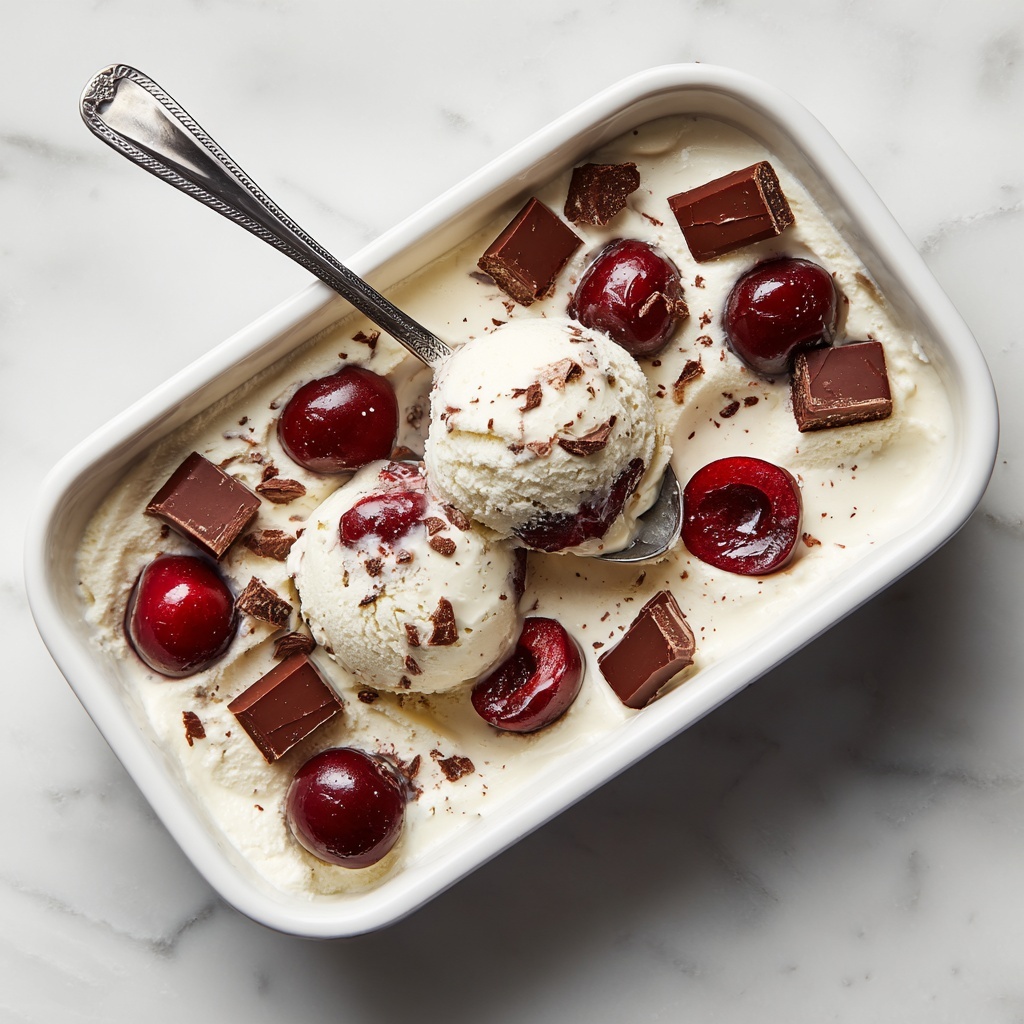
Pour your ice cream mixture into a loaf pan or any freezer-safe container. Scatter the remaining cherries and chocolate pieces on top for a pretty finishing touch. Cover it tightly and freeze for 5 to 6 hours or until it’s firm enough to scoop.
Step 5: Serve and Enjoy
When ready to enjoy, let the ice cream sit at room temperature for a few minutes to soften slightly. Then scoop into bowls or cones and prepare for pure bliss in every bite!
How to Serve No-Churn Chocolate Cherry Ice Cream Recipe

Garnishes
Simple garnishes can elevate your dessert presentation. Consider topping your ice cream with fresh cherries, a drizzle of melted chocolate, or even a sprinkle of toasted almonds for an added crunch that complements the creamy texture fabulously.
Side Dishes
This ice cream stands beautifully on its own but pairs wonderfully with warm desserts like brownies, chocolate chip cookies, or even a slice of cherry pie. These pairings highlight the chocolate and cherry flavors for an utterly decadent experience.
Creative Ways to Present
For a special occasion, serve scoops inside hollowed-out chocolate cups or waffle cones lined with chocolate drizzle. Layer it in parfait glasses with cherry compote and chocolate shavings to create an elegant, show-stopping treat everyone will love.
Make Ahead and Storage
Storing Leftovers
Keep any leftover ice cream tightly covered in an airtight container in the coldest part of your freezer. This helps prevent ice crystals and preserves the delightful creamy texture you’ve worked so hard to achieve.
Freezing
The No-Churn Chocolate Cherry Ice Cream Recipe freezes well for up to 2 weeks. Make sure to cover it well to avoid freezer burn and to keep those cherries and chocolate pieces tasting fresh and delicious.
Reheating
No reheating is necessary or recommended for this ice cream. Simply let it sit at room temperature for a few minutes before serving to get that perfect scoopable softness.
FAQs
Can I use frozen cherries instead of fresh?
Absolutely! Frozen cherries work well if fresh aren’t available. Just thaw and drain them well to avoid excess moisture that could affect the ice cream’s texture.
Is there a dairy-free version of this recipe?
While this recipe depends on dairy for its creamy base, you can experiment with coconut cream and sweetened condensed coconut milk for a dairy-free twist. Keep in mind the texture and flavor will vary slightly.
Can I substitute the dark chocolate for milk chocolate?
Yes! Milk chocolate will create a sweeter, softer chocolate presence in the ice cream. Dark chocolate offers a richer, slightly bitter contrast to the cherries, but both are delicious options.
How long does it take to whip the cream properly?
It usually takes about 3 to 5 minutes with a hand or stand mixer to reach stiff peaks. Be careful not to overbeat or the cream can turn grainy and start turning into butter.
Can I add other mix-ins besides cherries and chocolate?
Definitely! Feel free to add nuts, caramel swirls, or even pieces of your favorite cookies. Just gently fold them in at the end to maintain the ice cream’s texture.
Final Thoughts
This No-Churn Chocolate Cherry Ice Cream Recipe is truly a delightful way to enjoy a homemade frozen treat without any complicated equipment or long hours of effort. With its perfect balance of creaminess, chocolate richness, and fresh cherry bursts, it’s a recipe you’ll want to keep coming back to time and time again. Give it a try — your taste buds will thank you!
Print
No-Churn Chocolate Cherry Ice Cream Recipe
- Prep Time: 15 minutes
- Cook Time: 0 minutes
- Total Time: 6 hours 15 minutes
- Yield: 6 servings
- Category: Dessert
- Method: No-Cook
- Cuisine: American
- Diet: Vegetarian
Description
This No-Churn Chocolate Cherry Ice Cream recipe offers a creamy, decadent dessert without the need for an ice cream maker. Combining whipped cream, sweetened condensed milk, rich dark chocolate chunks, and juicy cherries, it’s a perfect homemade treat that can be prepared easily and frozen until ready to enjoy.
Ingredients
Ice Cream Base
- 16 oz carton whipping cream
- 10 oz can sweetened condensed milk
- 1 teaspoon vanilla extract
Mix-ins
- 1 cup cherries, pitted and chopped or quartered
- 1 cup dark chocolate, chopped or chunks
Instructions
- Whip the cream: Using a hand or stand mixer, whip the whipping cream until stiff peaks form. This creates the airy base for your ice cream, essential for the creamy texture without churning.
- Incorporate ingredients: Add the sweetened condensed milk and vanilla extract to the whipped cream and continue mixing until everything is well combined and smooth.
- Add mix-ins: Gently fold in the chopped cherries and dark chocolate pieces, taking care not to deflate the mixture. Reserve some of the cherries and chocolate chunks for topping if desired.
- Freeze the ice cream: Pour the mixture into a loaf pan or similar freezer-safe container. Top with the reserved cherries and chocolate. Cover the container tightly and place it in the freezer for 5 to 6 hours, until firm.
- Serve: Before serving, allow the ice cream to soften slightly at room temperature for a few minutes. Scoop into bowls or cones and enjoy immediately.
Notes
- For best results, chill the bowl and whisk before whipping the cream.
- Make sure cherries are pitted to avoid any unpleasant bites.
- Use good quality dark chocolate for richer flavor.
- You can substitute fresh cherries with frozen ones that are thawed and drained.
- Store the ice cream covered tightly in the freezer to prevent ice crystals.


